Introduction
The Advanced Notification Settings allow users to configure how and when they receive notifications for different events. Users can define:
- The notification channels used for each event (e.g., browser, mobile push, email).
- The sending strategy, determining if notifications are sent via multiple channels or only through the first successful attempt.
This level of customization ensures that users stay informed about important events in a way that best suits their workflow.

How to Access Advanced Notification Settings
- Navigate to My Company in the side menu.
- Open the Employees Tab.
- Select your own account from the employee list.
- Open the Advanced Notification Settings Tab.
Configuring Notification Settings
Each event that triggers a notification can have customized notifications settings.
Should the user wish to apply a general setting to all Events, this can be configured at a go. This is done through the topmost notifications settings element called All.

Origin
Defines who triggered the event:
- Me → The notification is triggered by an event caused by the user.
- Others → The notification is triggered by an event caused by someone else.

Sending Strategy
Determines how notifications are sent:
- All channels → A notification is sent through each selected channel.
- First successful channel → The system attempts delivery through the selected channels in order. Once a notification is successfully sent via one channel, no further notifications are sent for that event.

Notification emails containing access links with a refresh token (e.g., for code user access) to include an information block explaining that these links are time-limited. The info block appears automatically at the end of the email and informs the recipient that the included link will expire after the defined validity period. This improvement increases transparency and prevents confusion when trying to use expired links.
A notification receiver (of a ticket, task, or video session) will receive a notification when they are removed from the list of notification recipients. This ensures that users are informed whenever they are no longer part of the communication for an item
Example: First Successful Channel Strategy
Scenario 1
- The user has an open browser window. → A browser notification is delivered.
- No other notifications are sent.
Scenario 2
- The user's browser is closed. → A browser notification cannot be delivered.
- A push notification is sent to the user's mobile device.
- No email notification is sent.
Scenario 3
- The user's browser is closed. → A browser notification cannot be delivered.
- The user's mobile device is turned off. → A push notification cannot be delivered.
- An email notification is sent.
How to Customize Notifications for Specific Events
- Open the Advanced Notification Settings Tab.
- Click Edit.
- Find the event you want to configure.
- Adjust the notification settings:
- Click the "+" symbol (picture) to add notification channels.
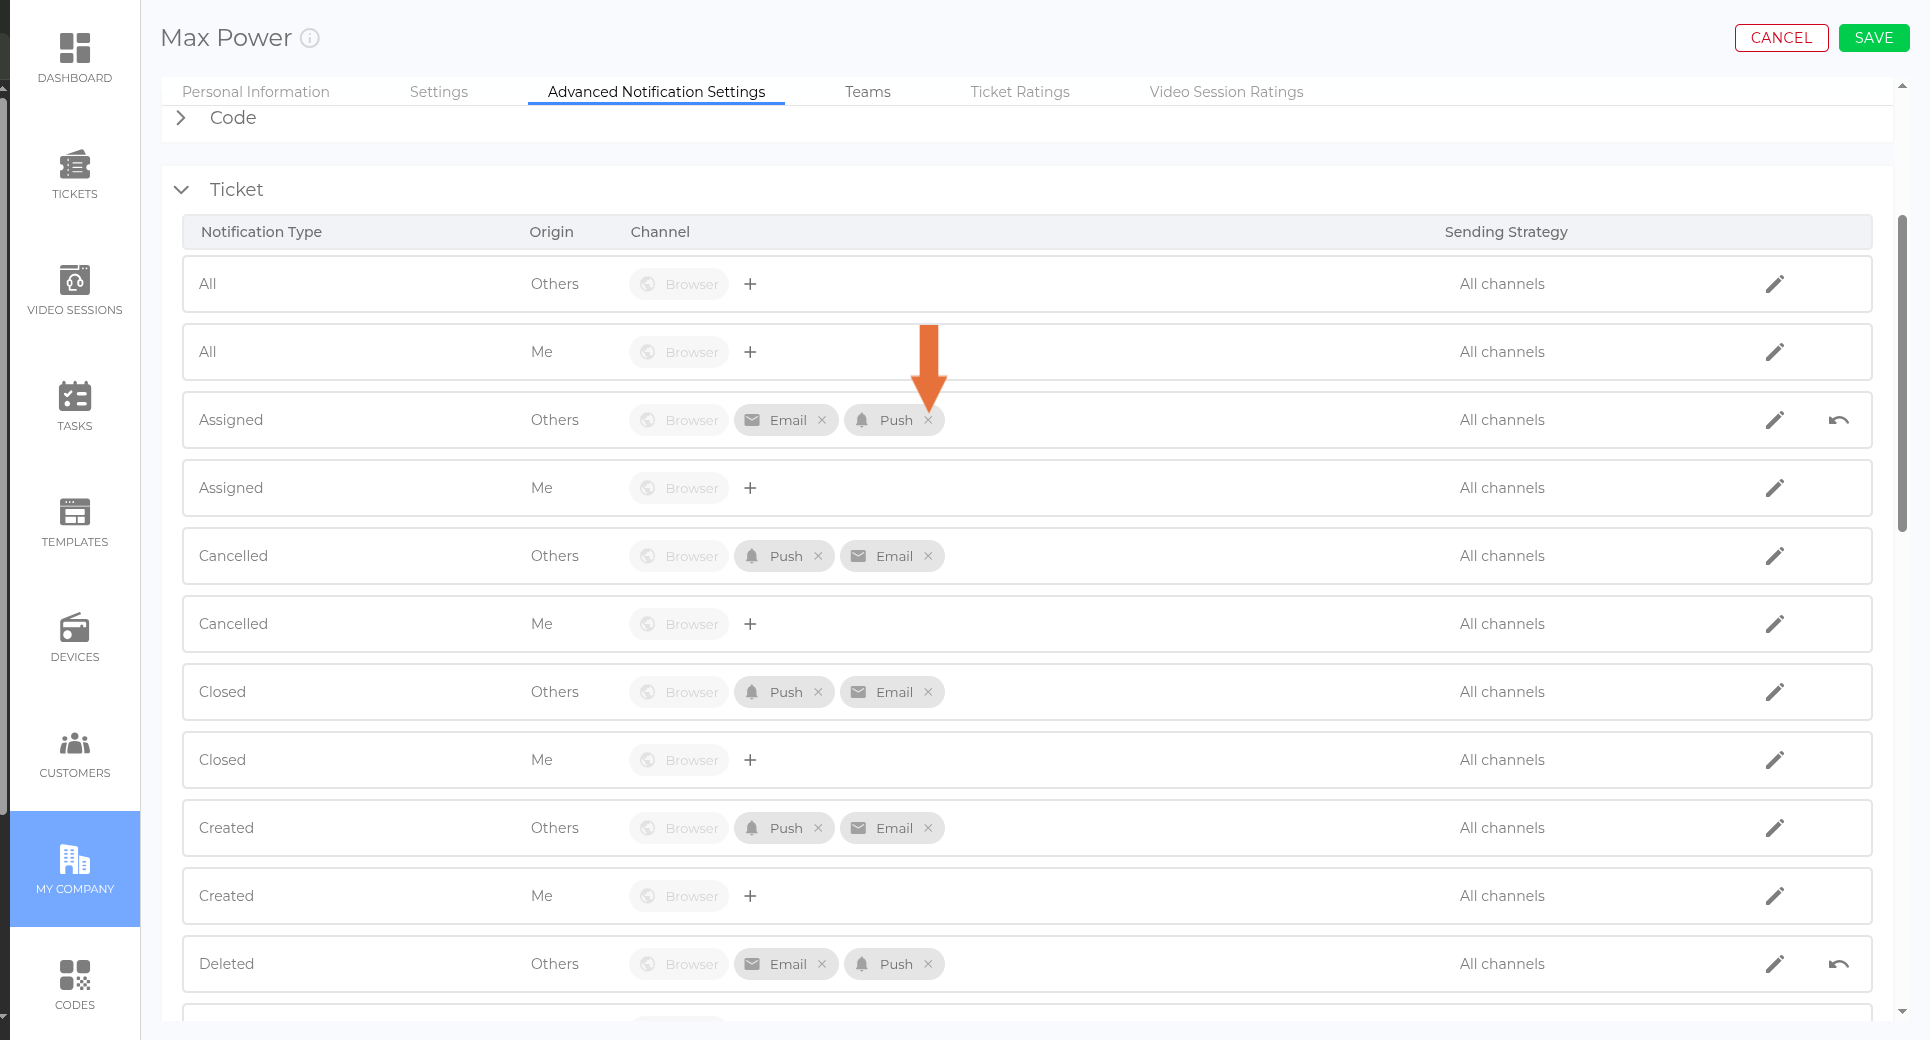
- Click the "x symbol" (picture) to remove a notification channel.
- Drag & Drop channels (video) to rearrange their priority.
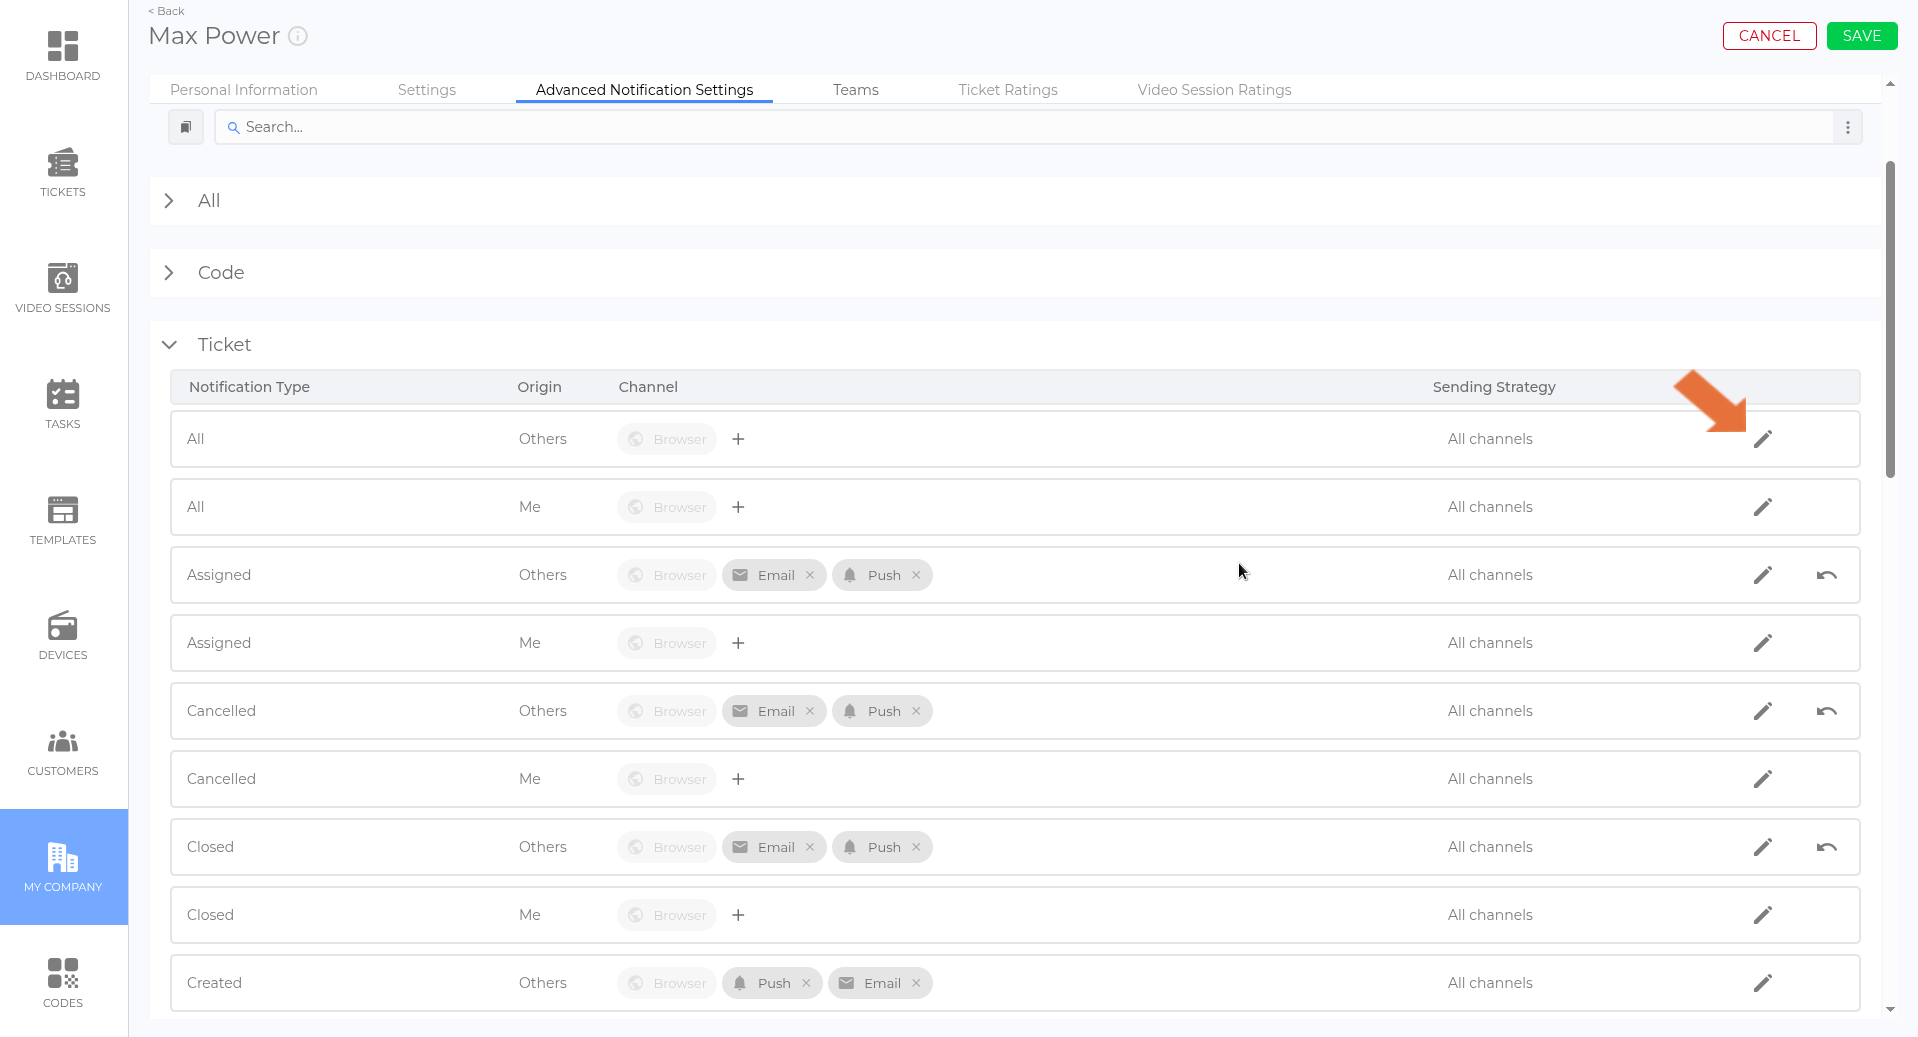
- Click the pencil symbol (picture) to change the sending strategy.
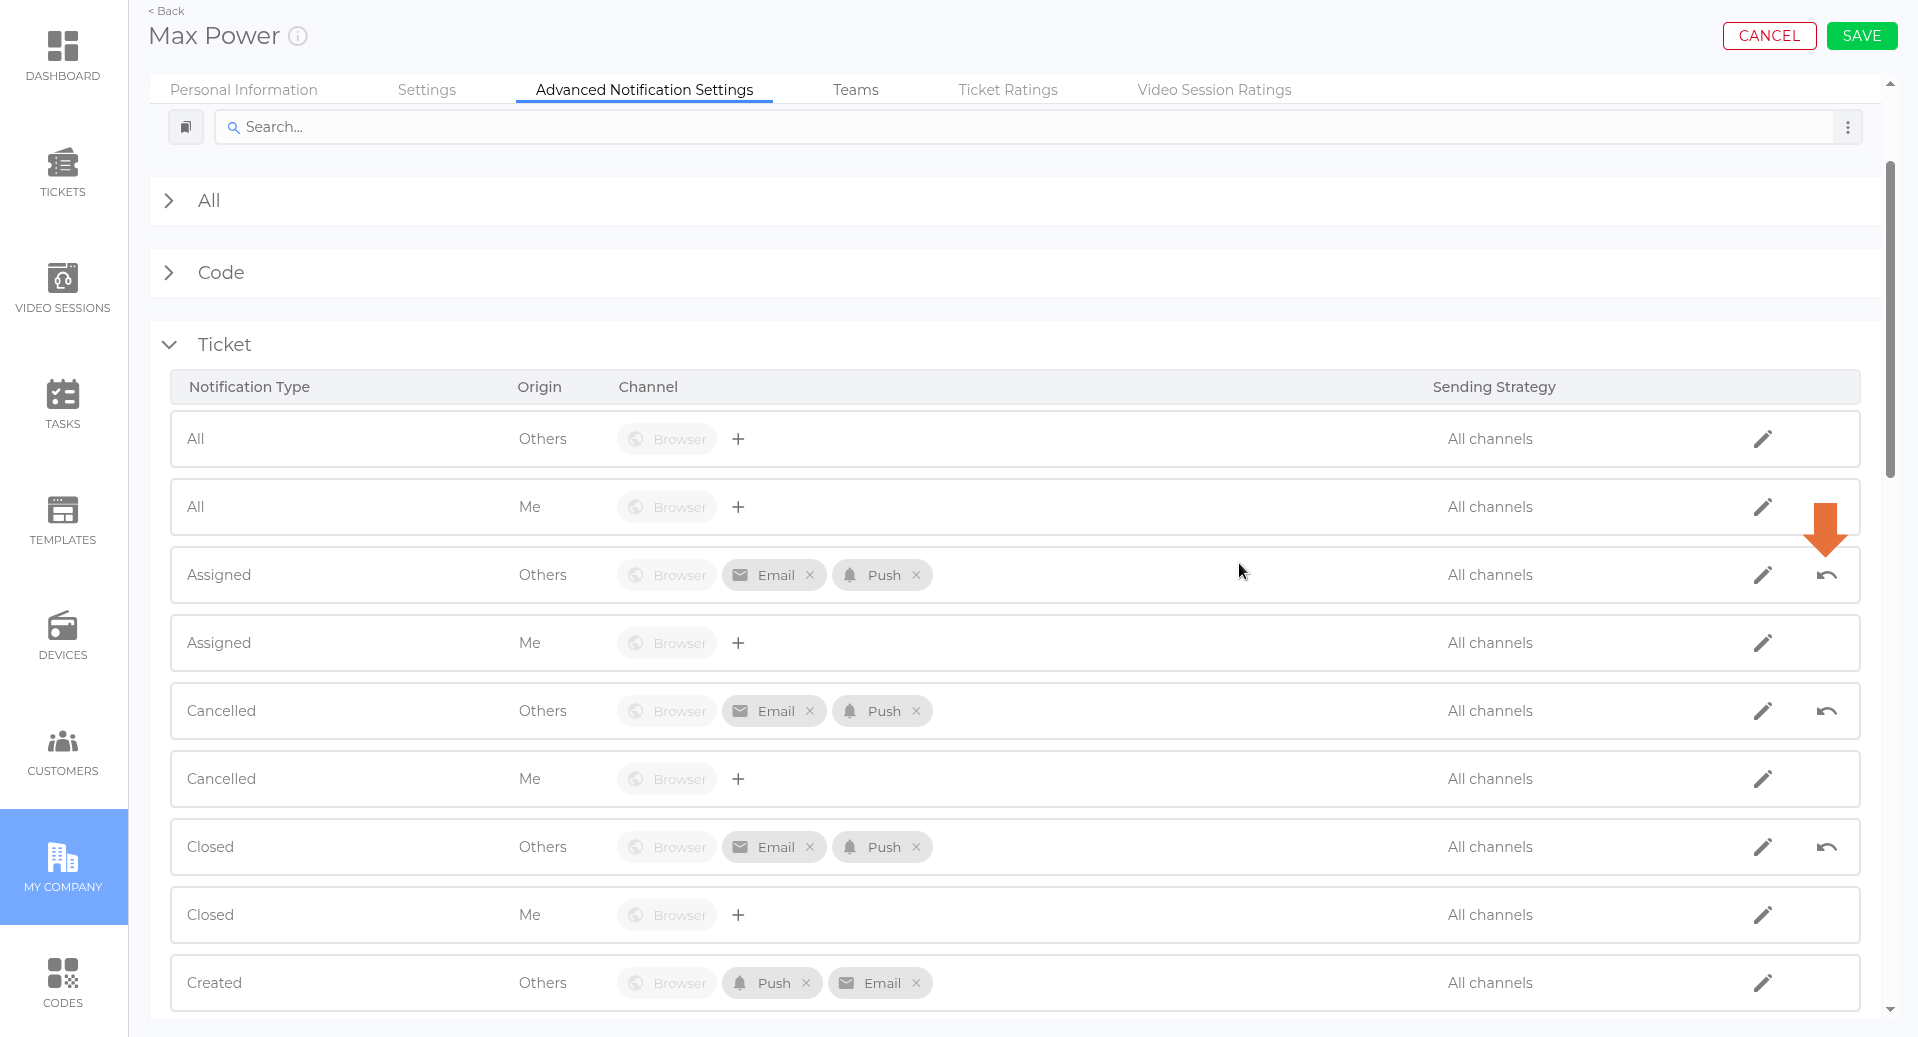
- Click the arrow symbol (picture) to restore default settings.
- Click Save to apply changes.
Importing & Exporting Notification Settings
All event notification settings can be imported and exported using a JSON file. Once you have completed and saved your notification configuration, the Import and Export buttons are available at the bottom of the Advanced Notification Settings view.
This functionality allows users to transfer notification configurations between user accounts or apply settings that were previously configured by another user.

Good to Know
- Full Customization → Users can adjust notifications for each event separately.
- Multiple Channels Available → Choose from browser, push, and email notifications.
- Restoring Defaults → The arrow symbol resets an event’s notification settings to its default configuration.
 We use cookies on our website to give you the most relevant experience by remembering your preferences and repeat visits. By clicking “Accept All”, you consent to the use of ALL the cookies. However, you may visit "Cookie Settings" to provide a controlled consent.
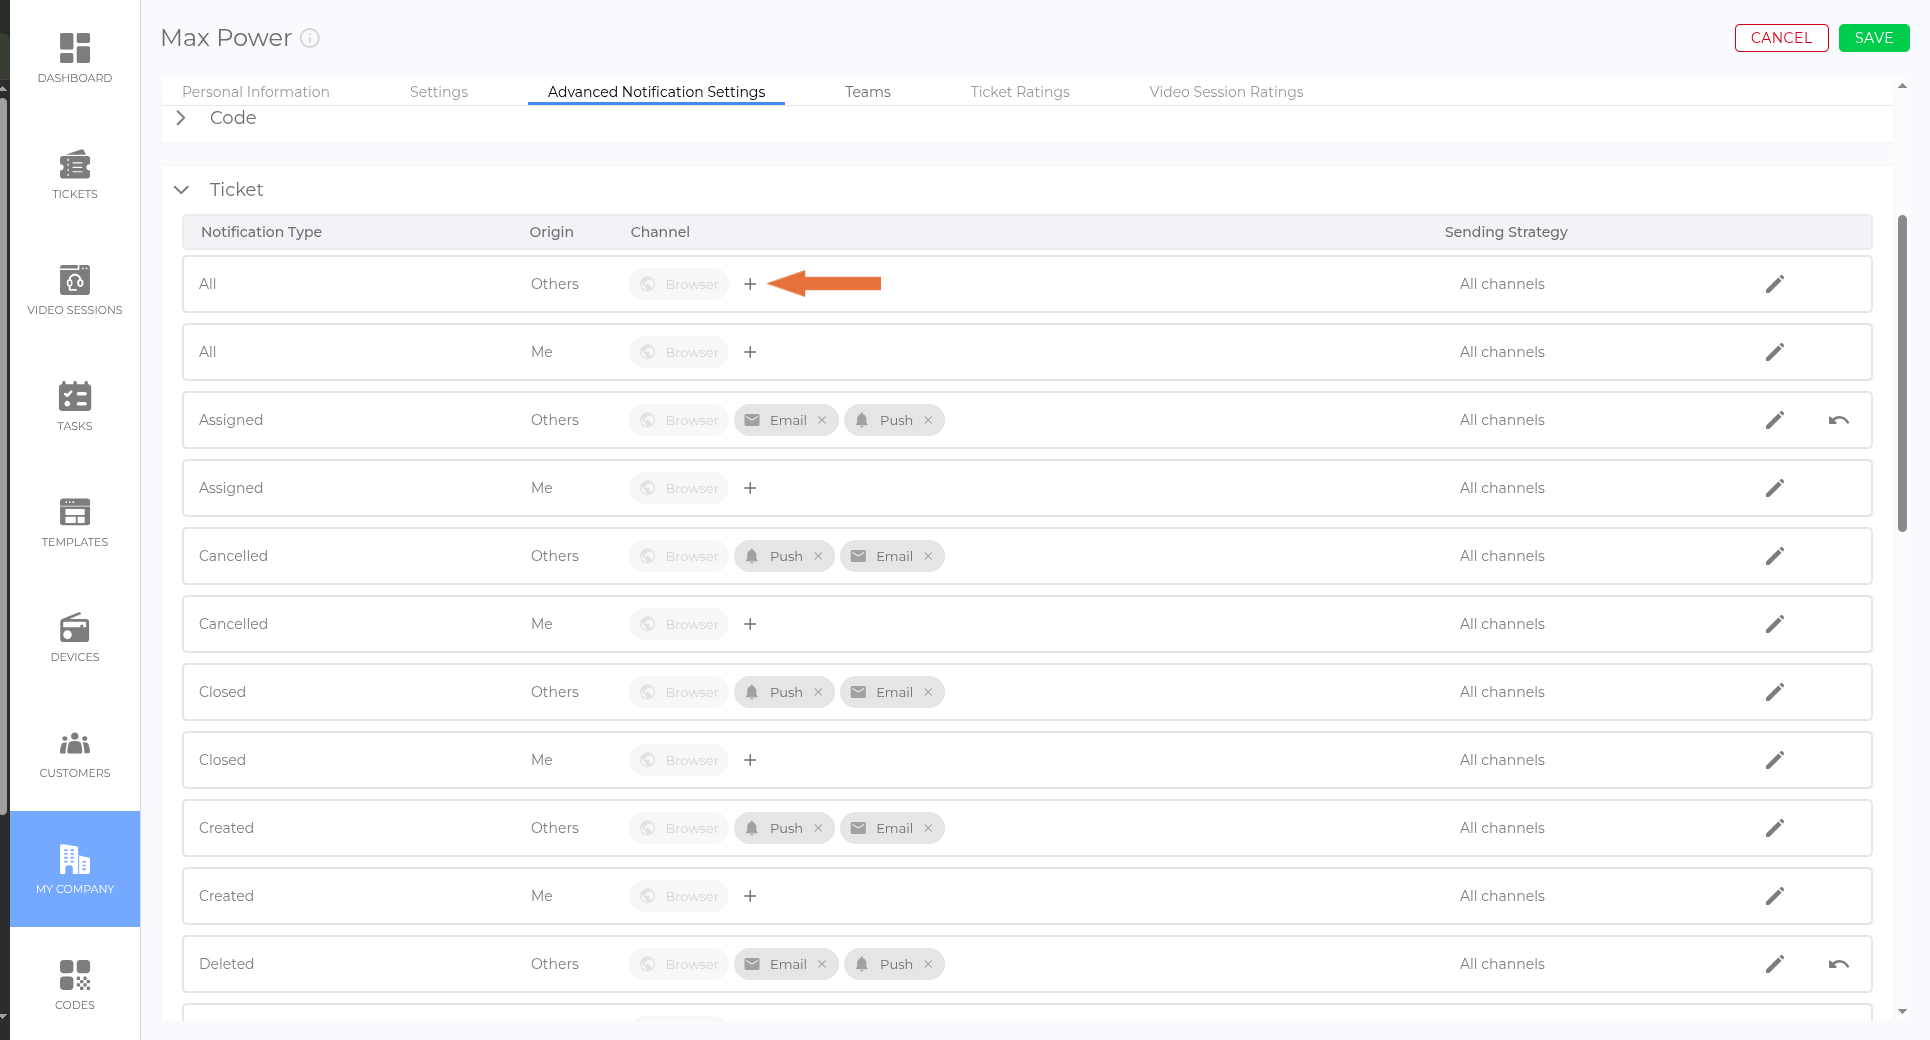