Introduction
Editing Templates is quick and easy, with changes automatically synchronized across all template-dependent devices. However, making major edits to "live" Templates can lead to incomplete or inconsistent content being displayed to users.
To prevent this, a best practice is to prepare content in a separate Template and only copy it to the target Template once all edits are complete.
What content can be updated this way?
YES: Assistant
- Modifying content or structure
- Adding translations
NO: Creation Flows
- Copying Creation Flows will cause existing entities, e.g. tickets, to lose their connections (picture).
Step-by-Step Instructions
1. Duplicate the Template You Want to Edit
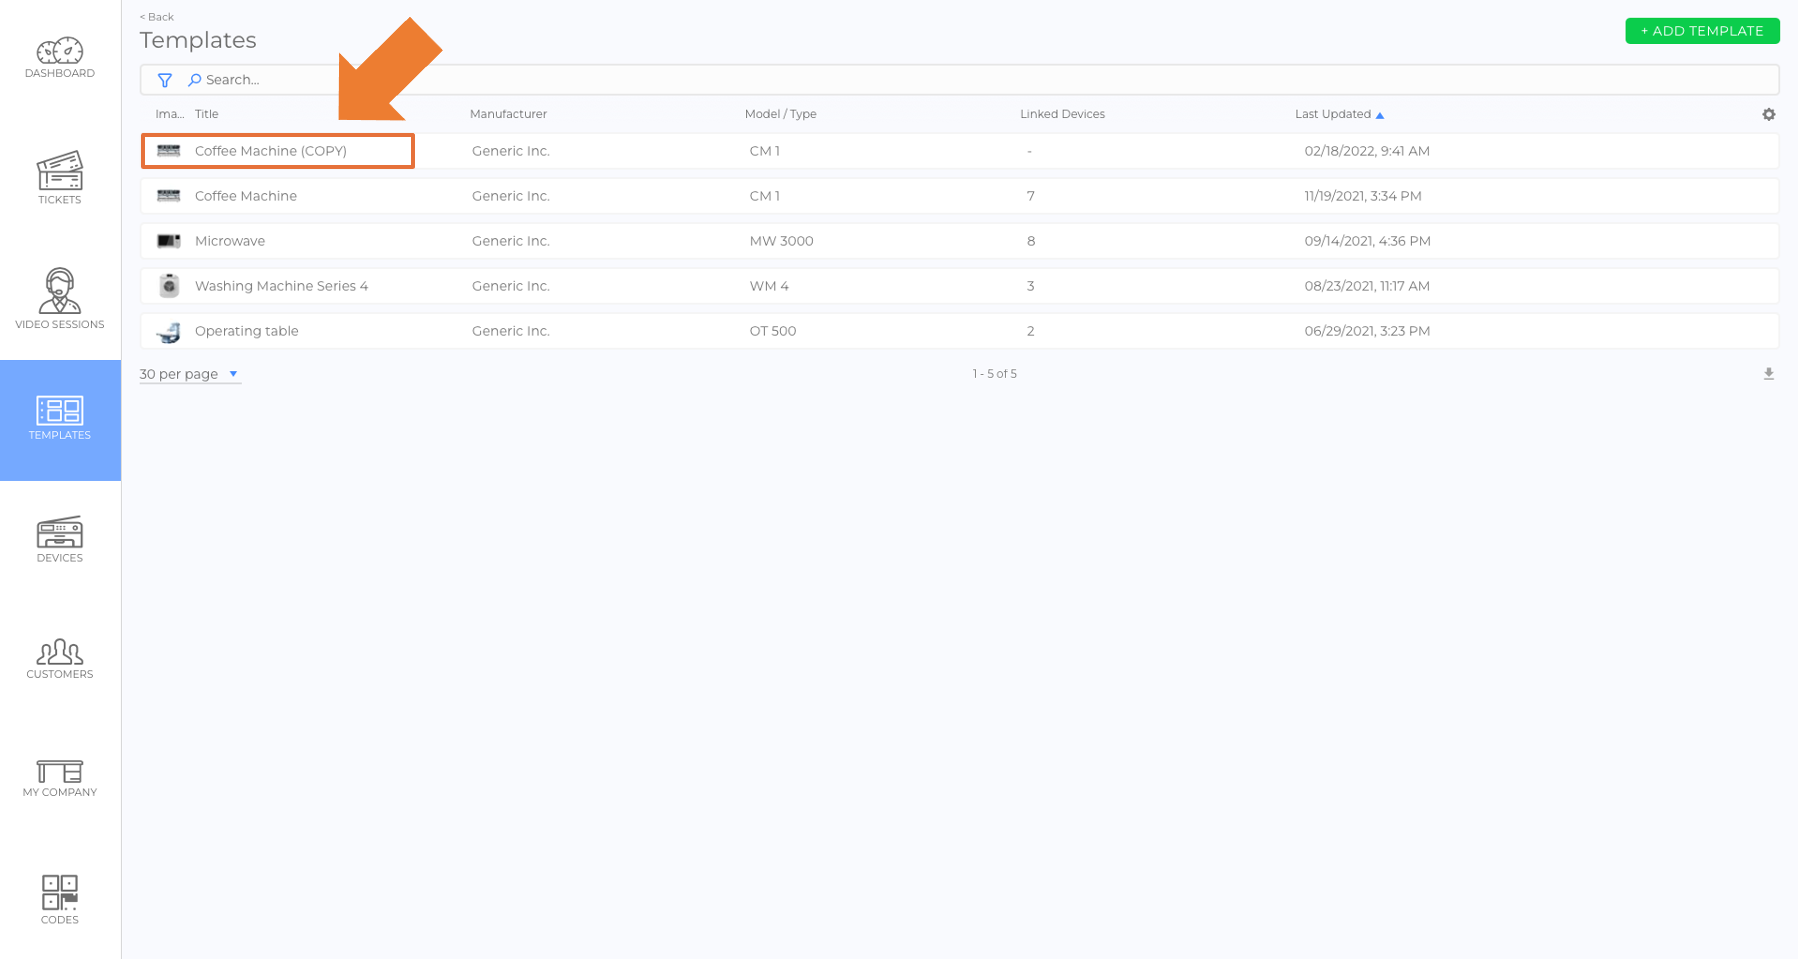
- Navigate to Templates in the side menu.
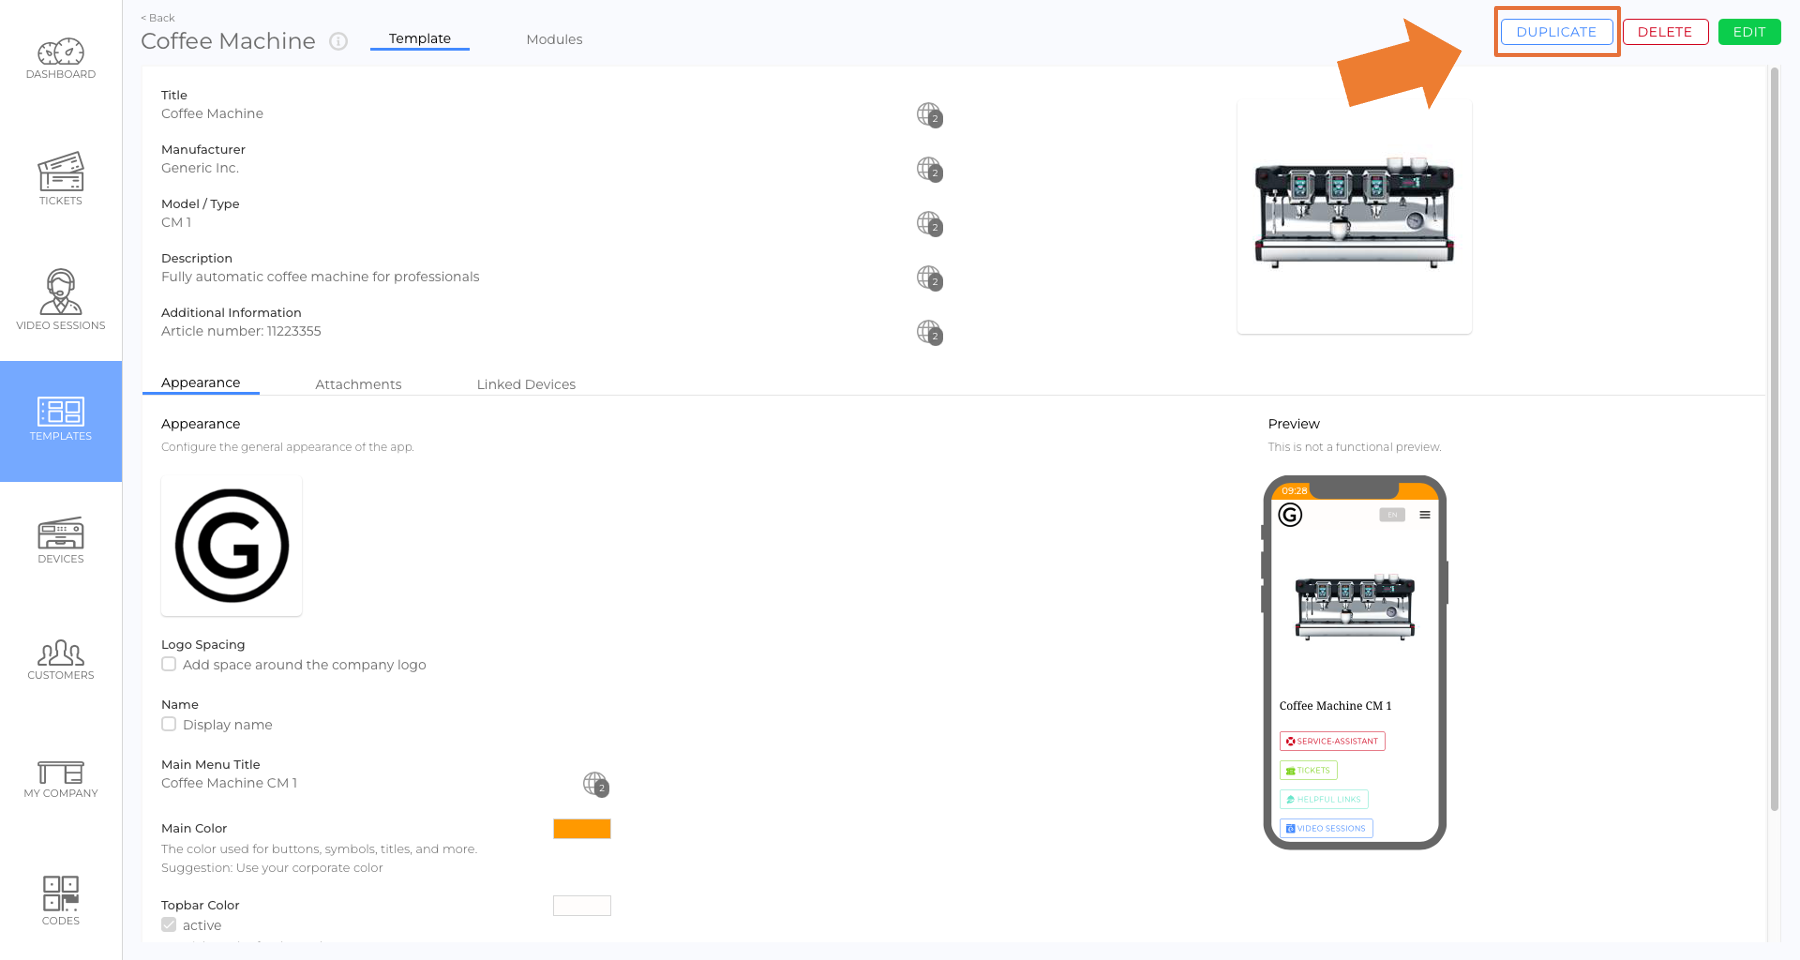
- Select the Template you want to edit (picture).
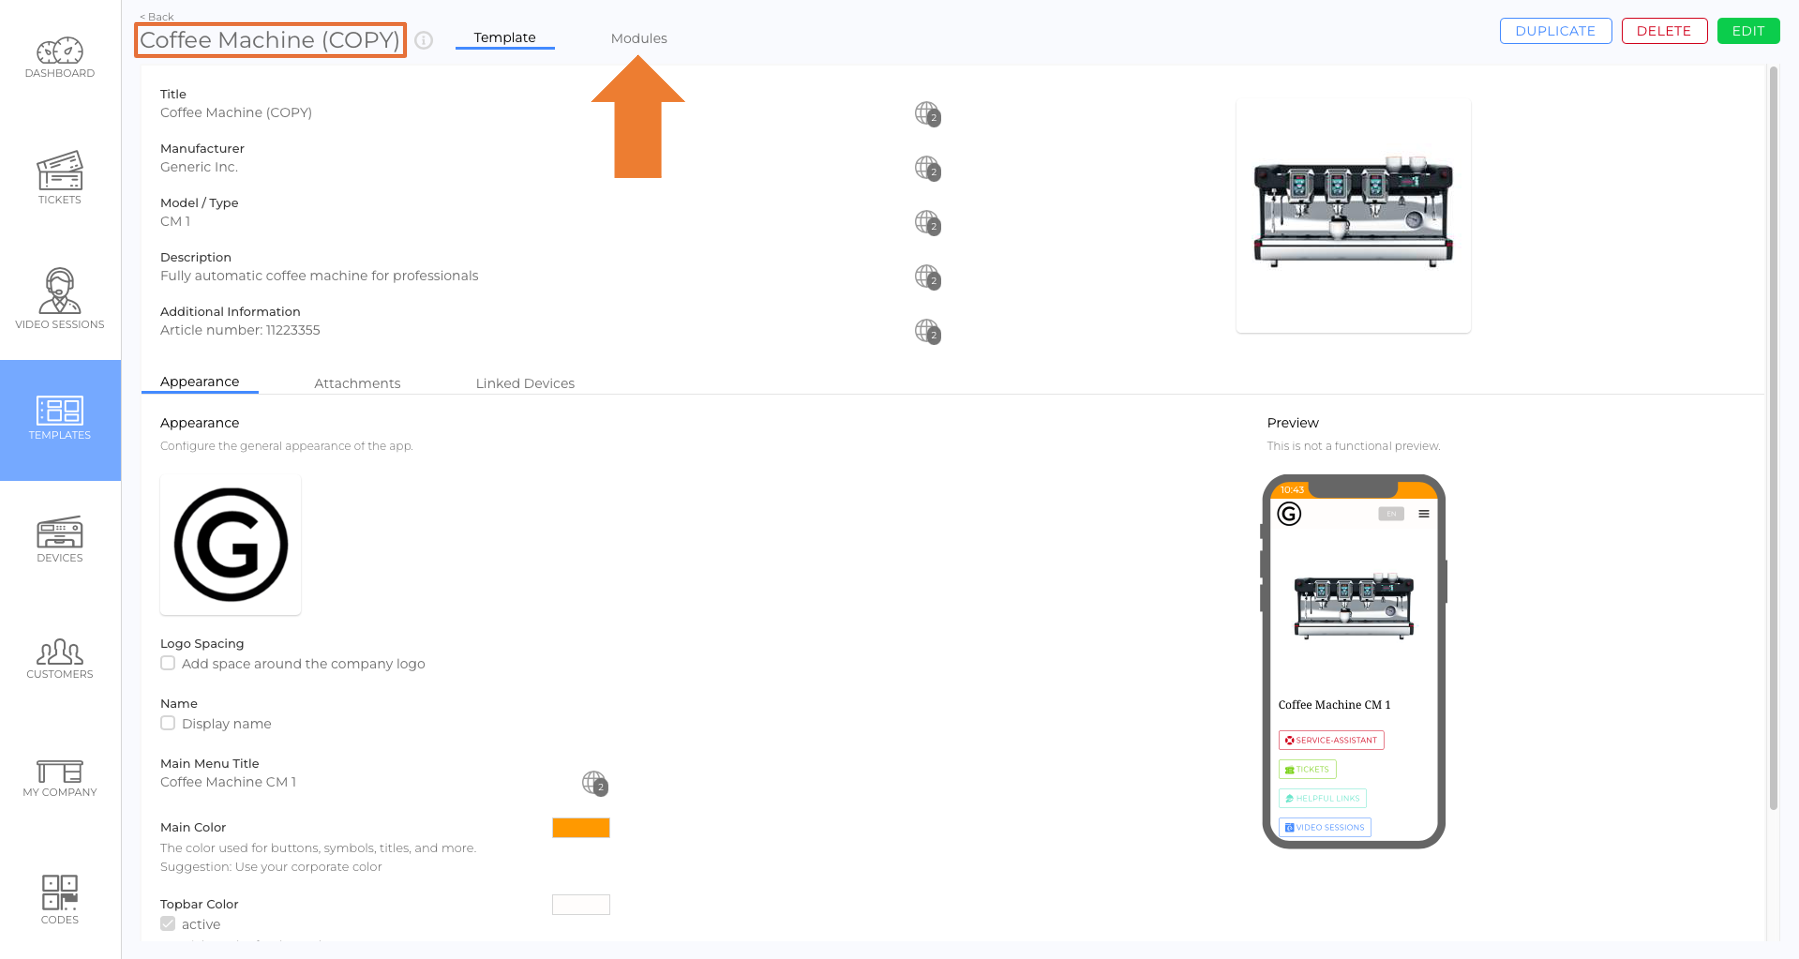
- In the top-right corner, click Duplicate (picture).
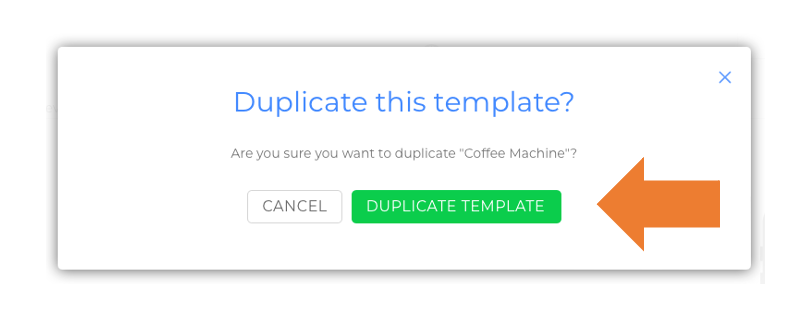
- Confirm by clicking Duplicate Template in the pop-up window (picture).
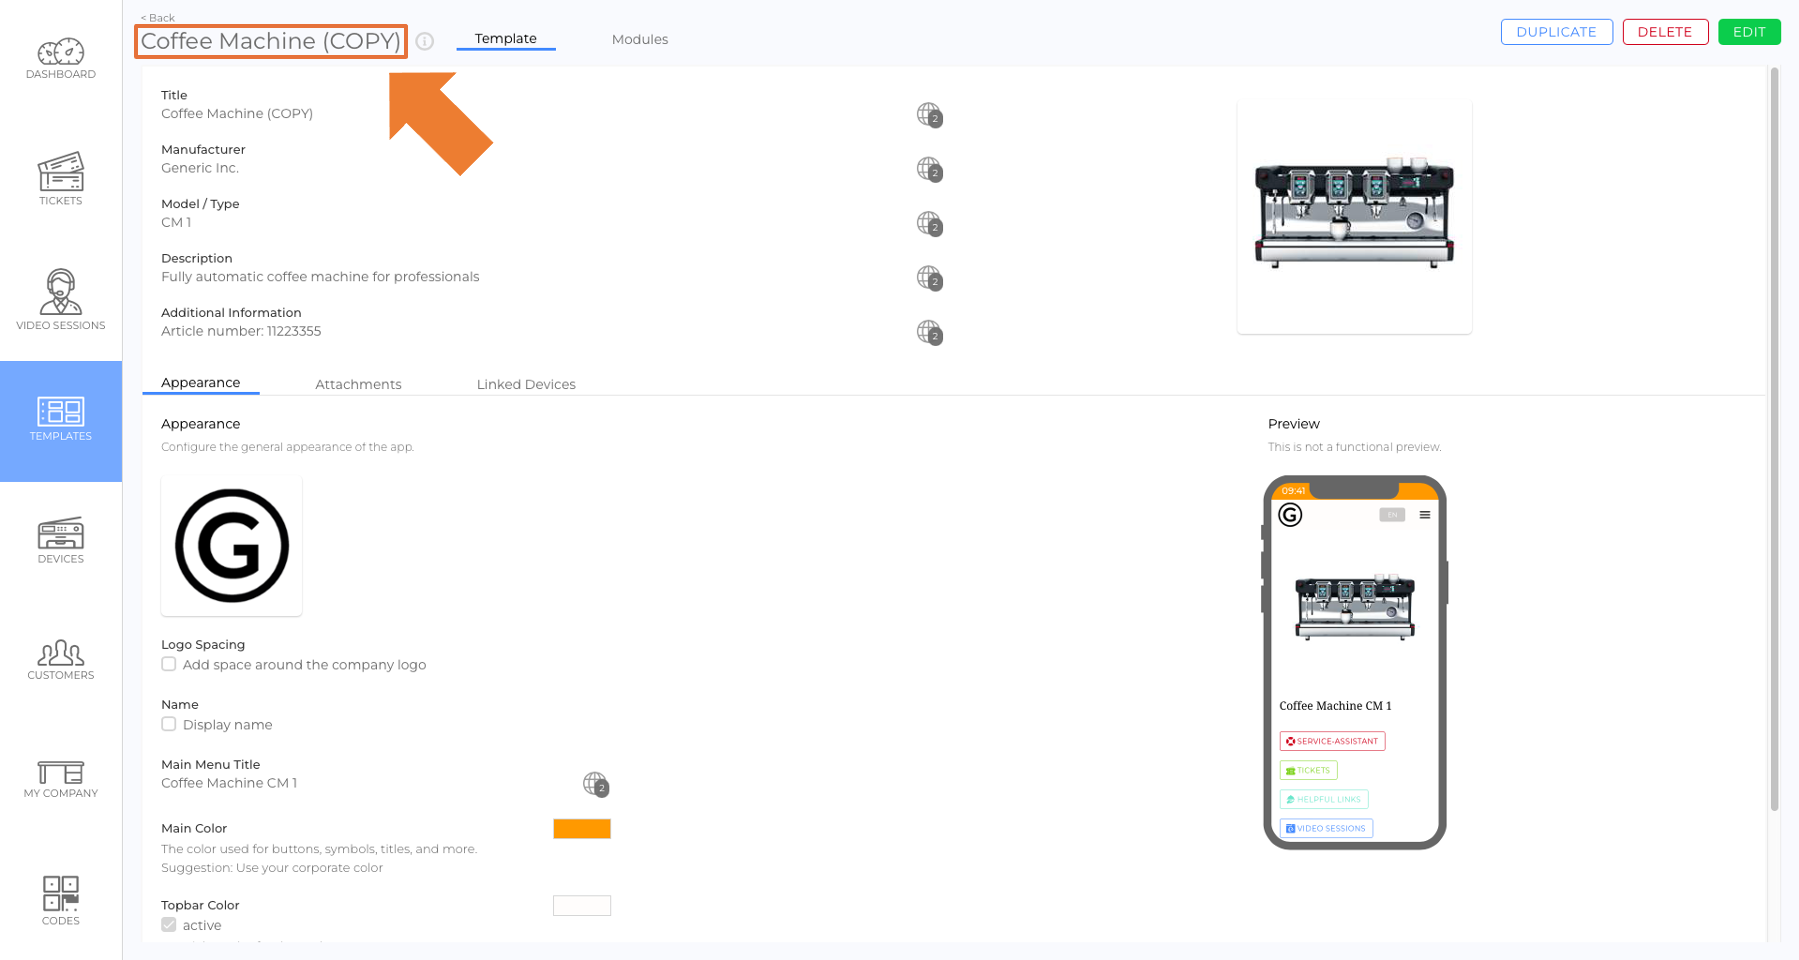
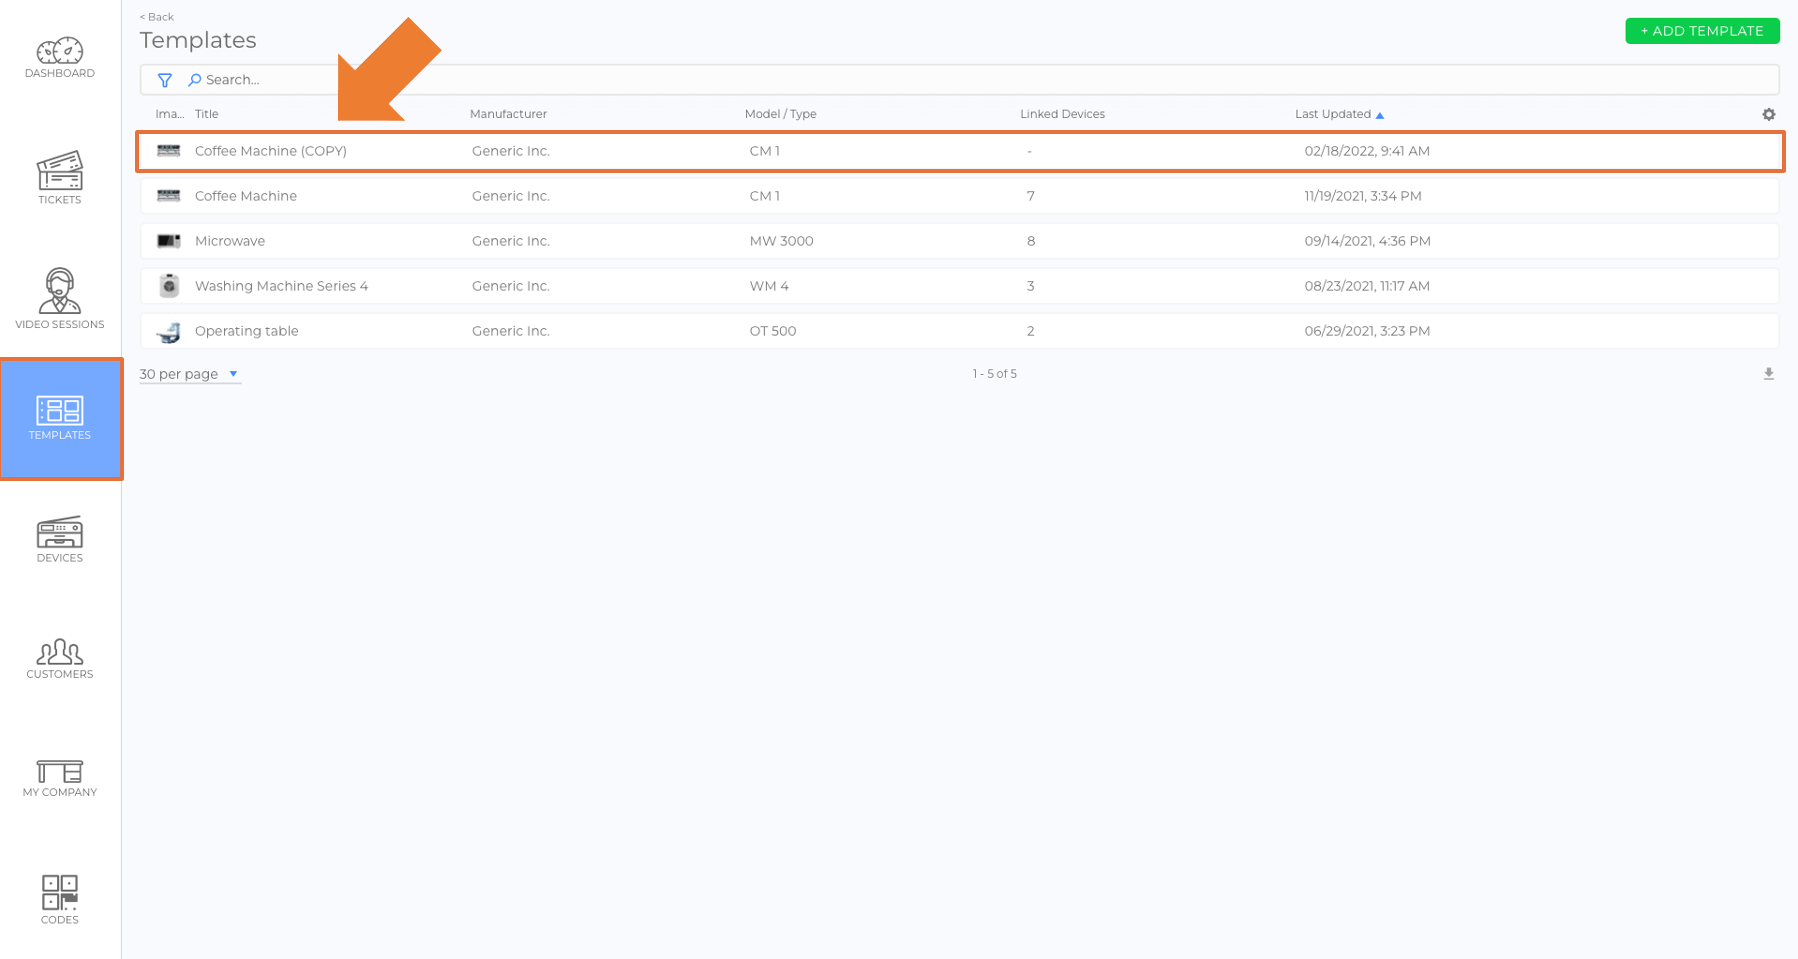
- You are now in the details view of the copied Template, labeled "(COPY)" next to the title (picture).
2. Make the Necessary Edits in the Copied Template
- Open the newly created "(COPY)" Template (picture).
- Make all required changes to the Text Assistant or other relevant content.
3. Copy the Updated Content to the Original Template
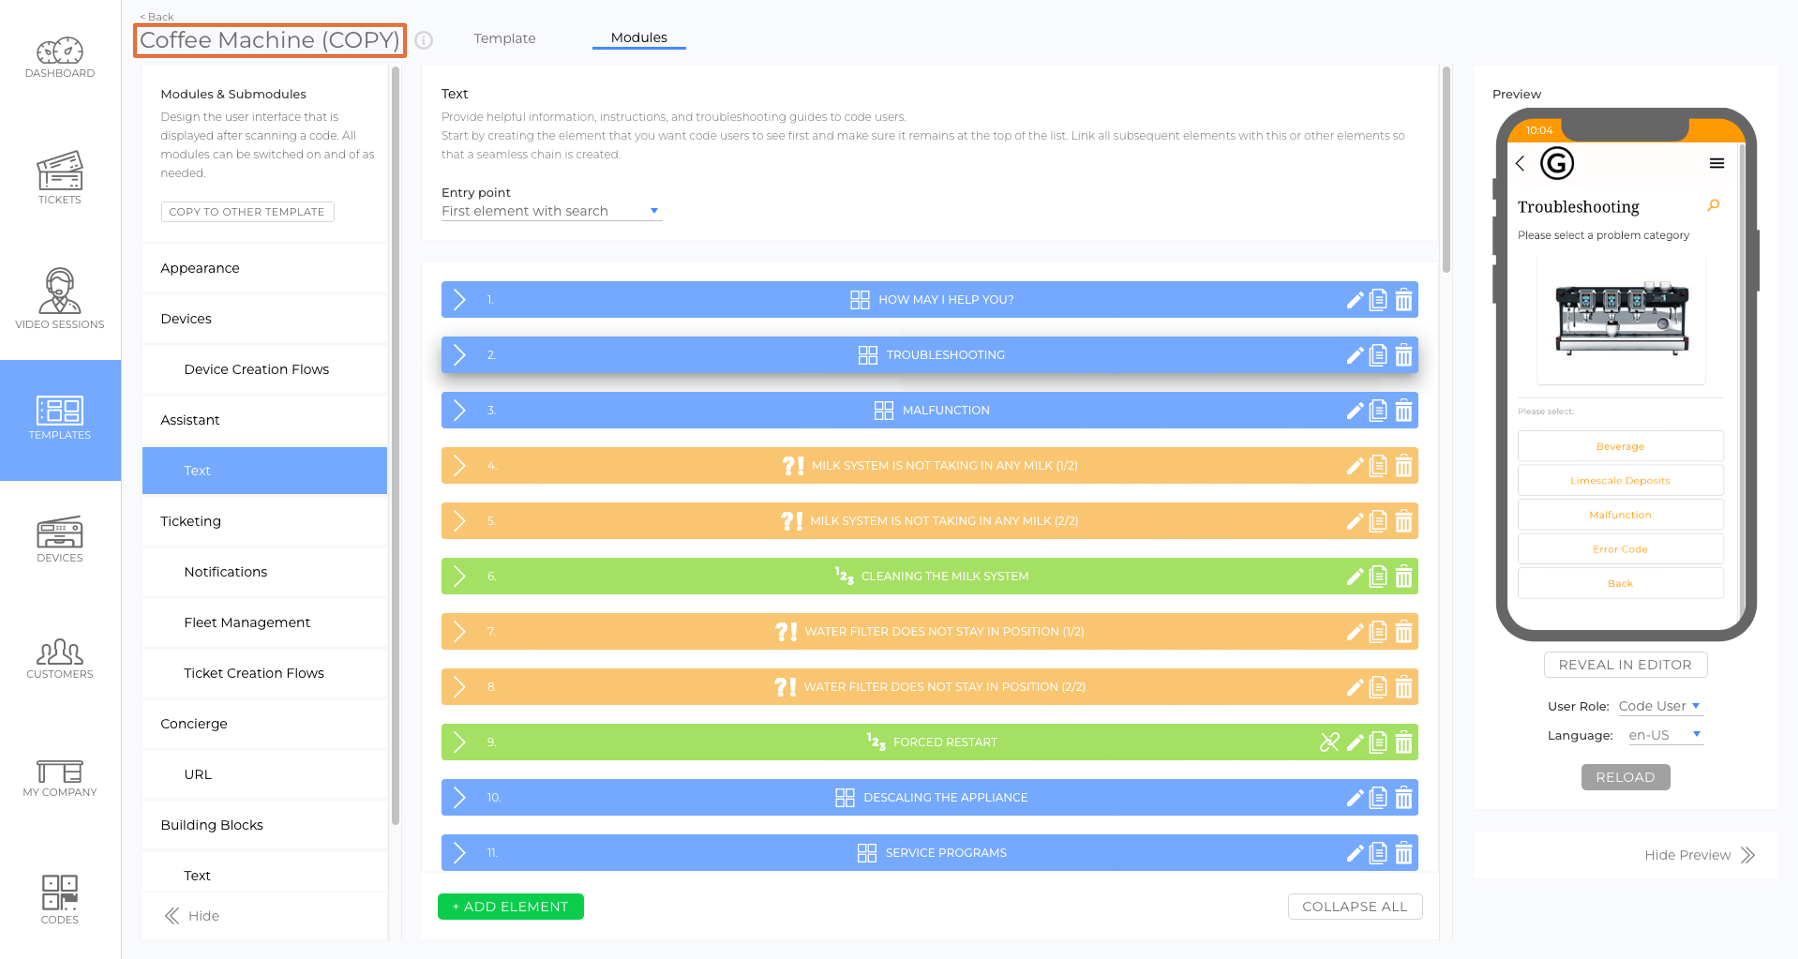
- Open the "(COPY)" Template (picture).
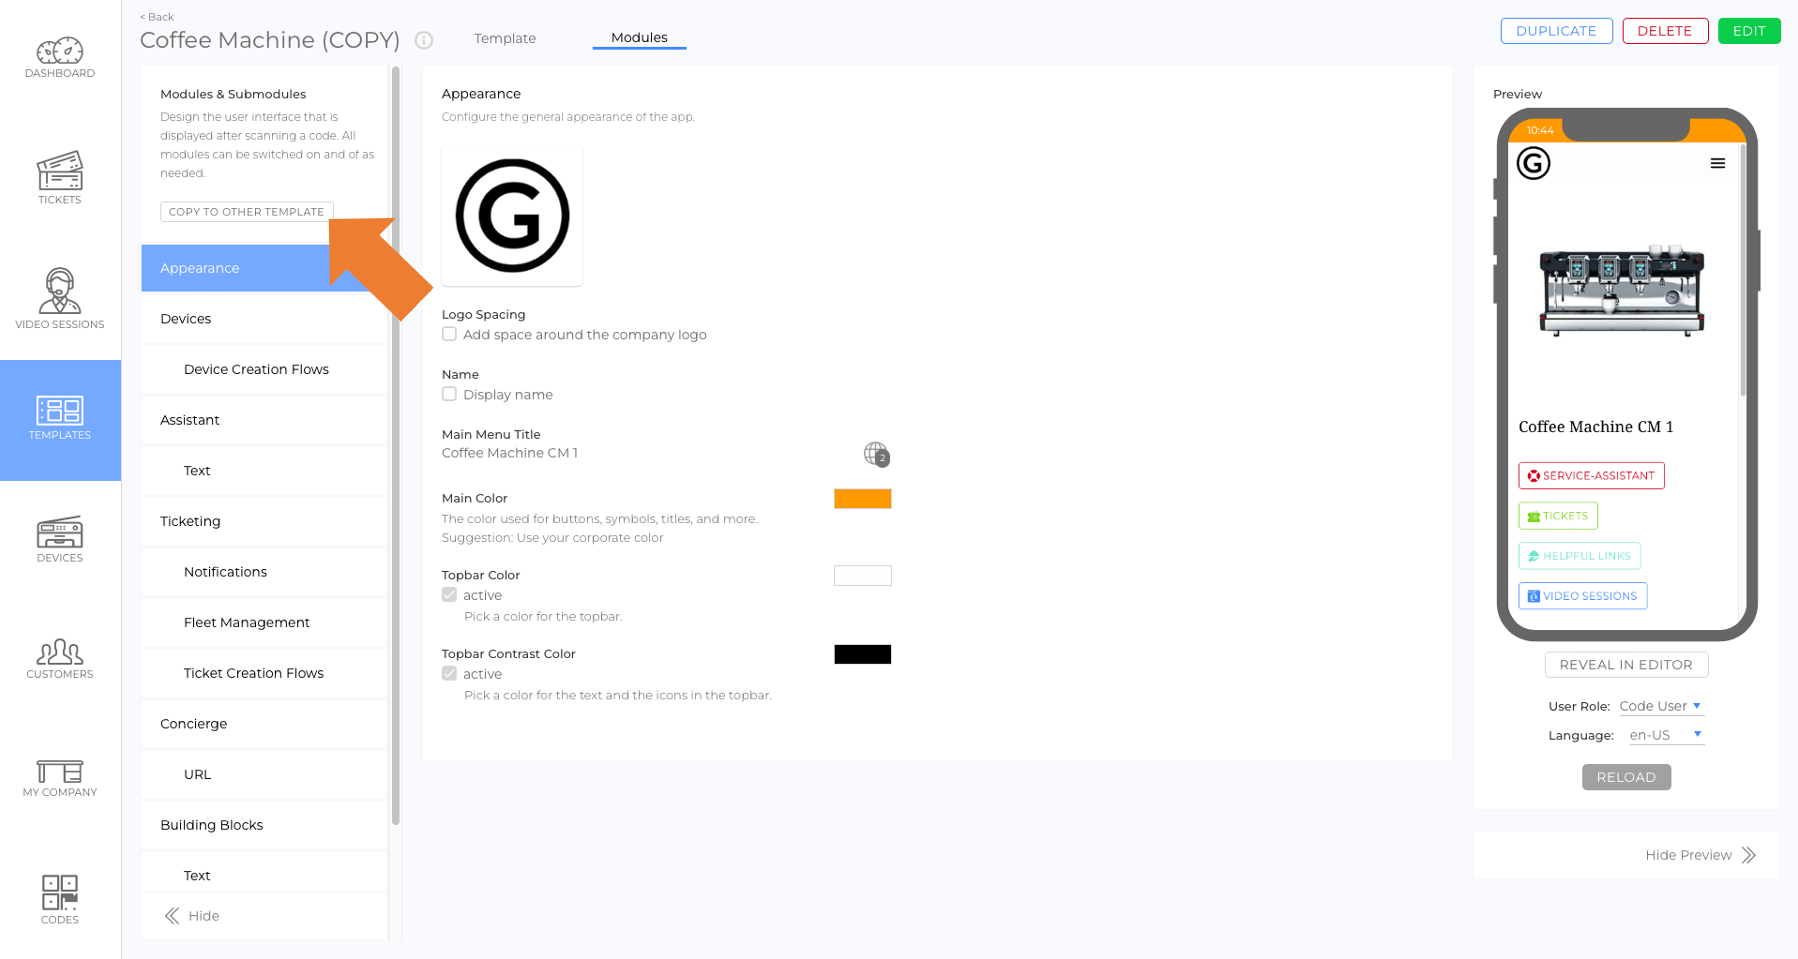
- Go to the Modules tab (picture).
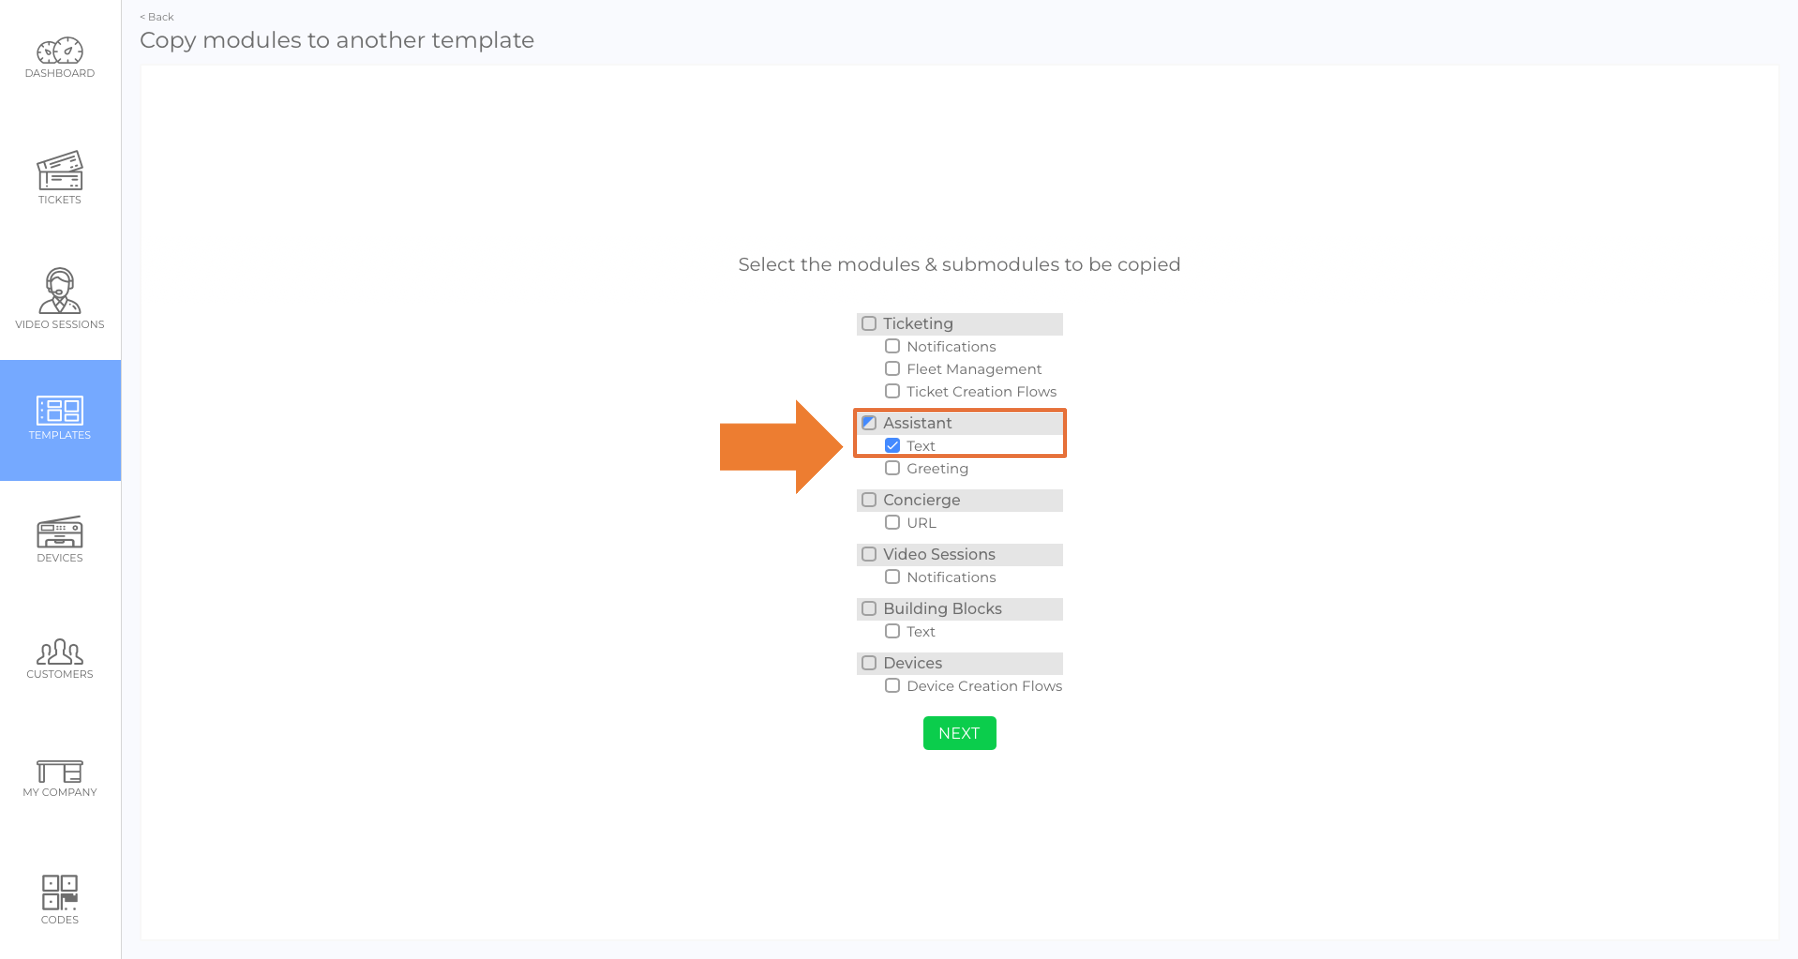
- Click Copy to other Template in the top-left corner (picture).
- Select only the checkbox next to "Text" (picture).
- Click Next.
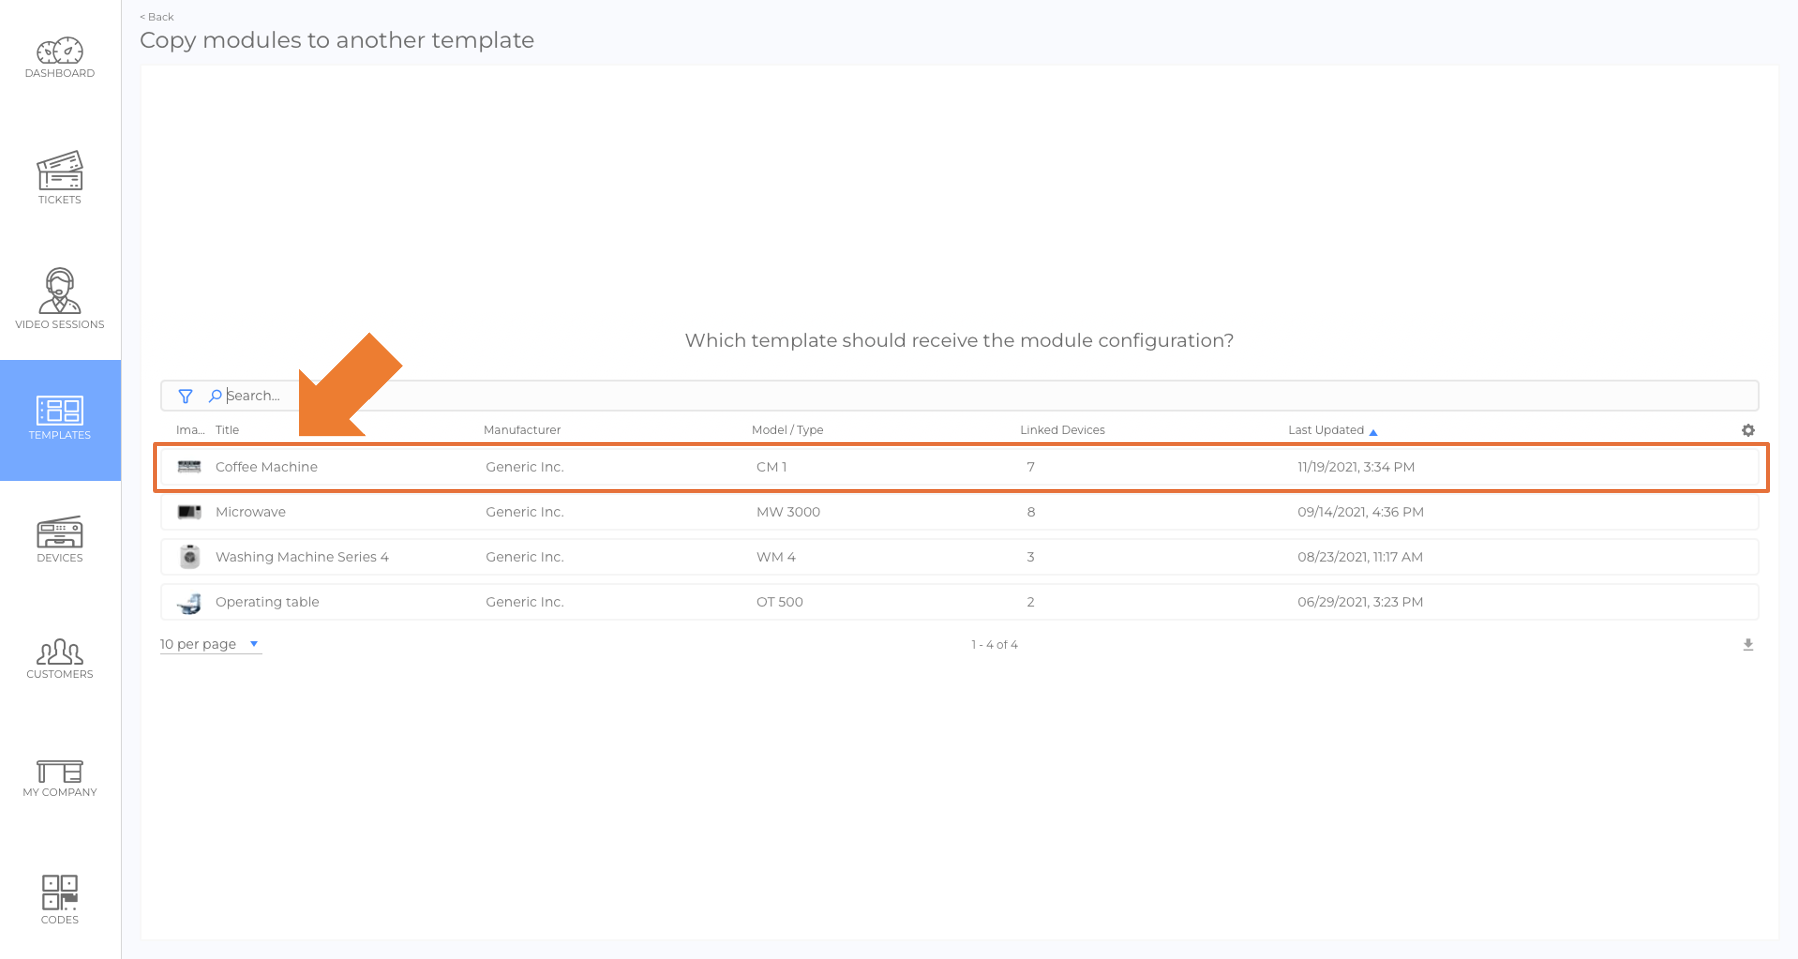
- From the list, select the original Template as the target (picture).
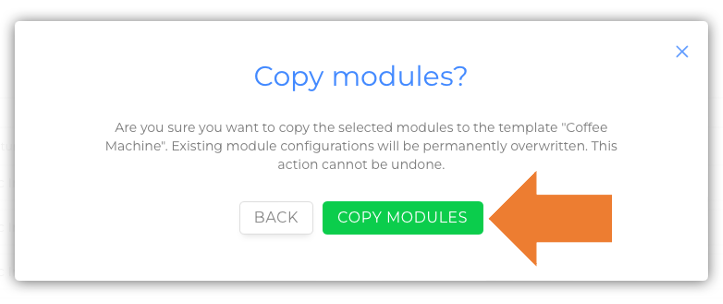
- In the pop-up window, click Copy Modules (picture).
4. Fix Broken References in the Text Assistant
Important: References from the Text Assistant to other modules will break!
Thes elements which contain broken references will be highlighted in red with the message: "Has at least one invalid action" displayed at the top of the element.
How to Fix Broken References
- Find the broken elements (highlighted in red).
- Click Edit to open the element.
- Open the drop down menu of the action button with the missing reference
- Select the correct element from the drop-down list.
- Click Save.
✅ This process is fast and can be done in just a few clicks!
5. Delete the Copied Template
- Navigate to Templates in the side menu.
- Select the "(COPY)" Template (picture).
- In the top-right corner, click Delete (picture).
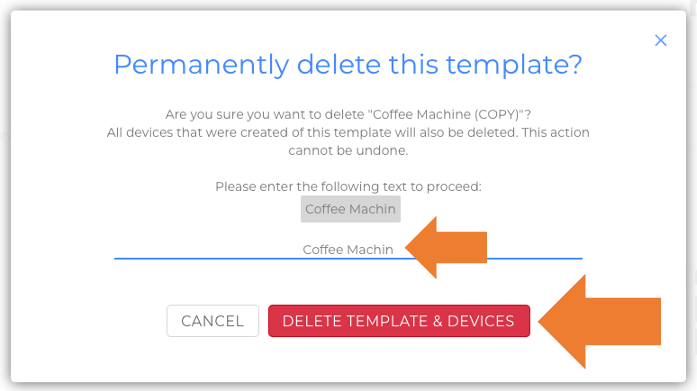
- In the pop-up window, enter the title of the Template to confirm.
- Click Delete Template & Devices (picture).
Good to Know
- This method ensures content is only updated once fully prepared, avoiding incomplete edits in live environments.
- Template duplication is useful for safely testing and reviewing major changes.
- Be cautious when copying Ticket Creation Flows, as existing tickets will lose their connections.
- After copying the Text Assistant, check for broken references and update them as needed.
 We use cookies on our website to give you the most relevant experience by remembering your preferences and repeat visits. By clicking “Accept All”, you consent to the use of ALL the cookies. However, you may visit "Cookie Settings" to provide a controlled consent.
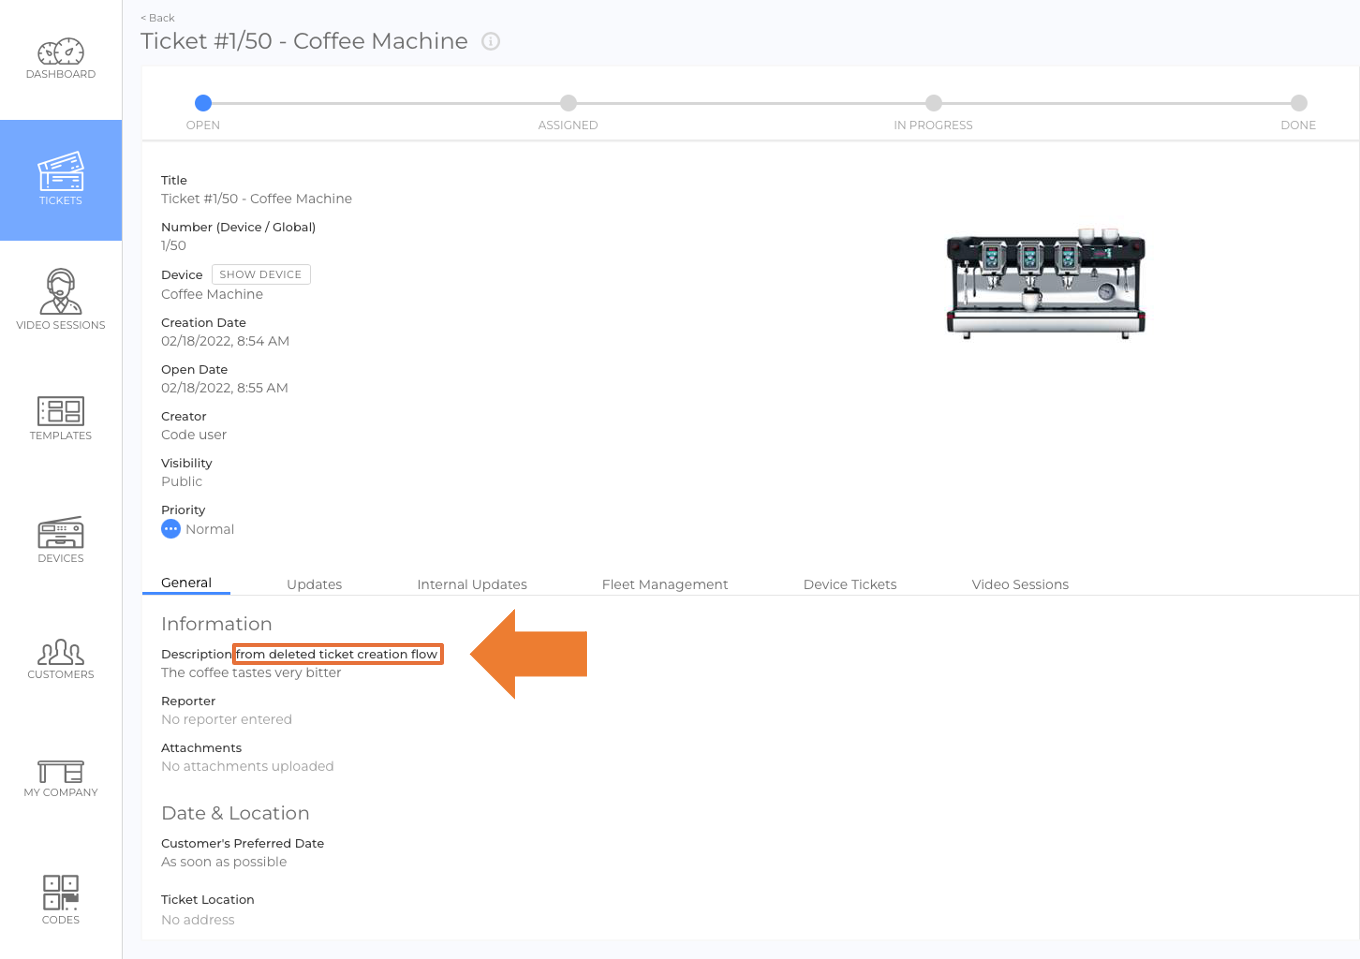