Introduction
Labels allow users to categorize, organize, sort, and filter various entities, such as tickets, video sessions, tasks, devices, templates, customers, and codes. By using labels, service providers can improve their workflow management and organization.
How to Get There
- Select My Company from the side menu.
- Click on the Labels tab.
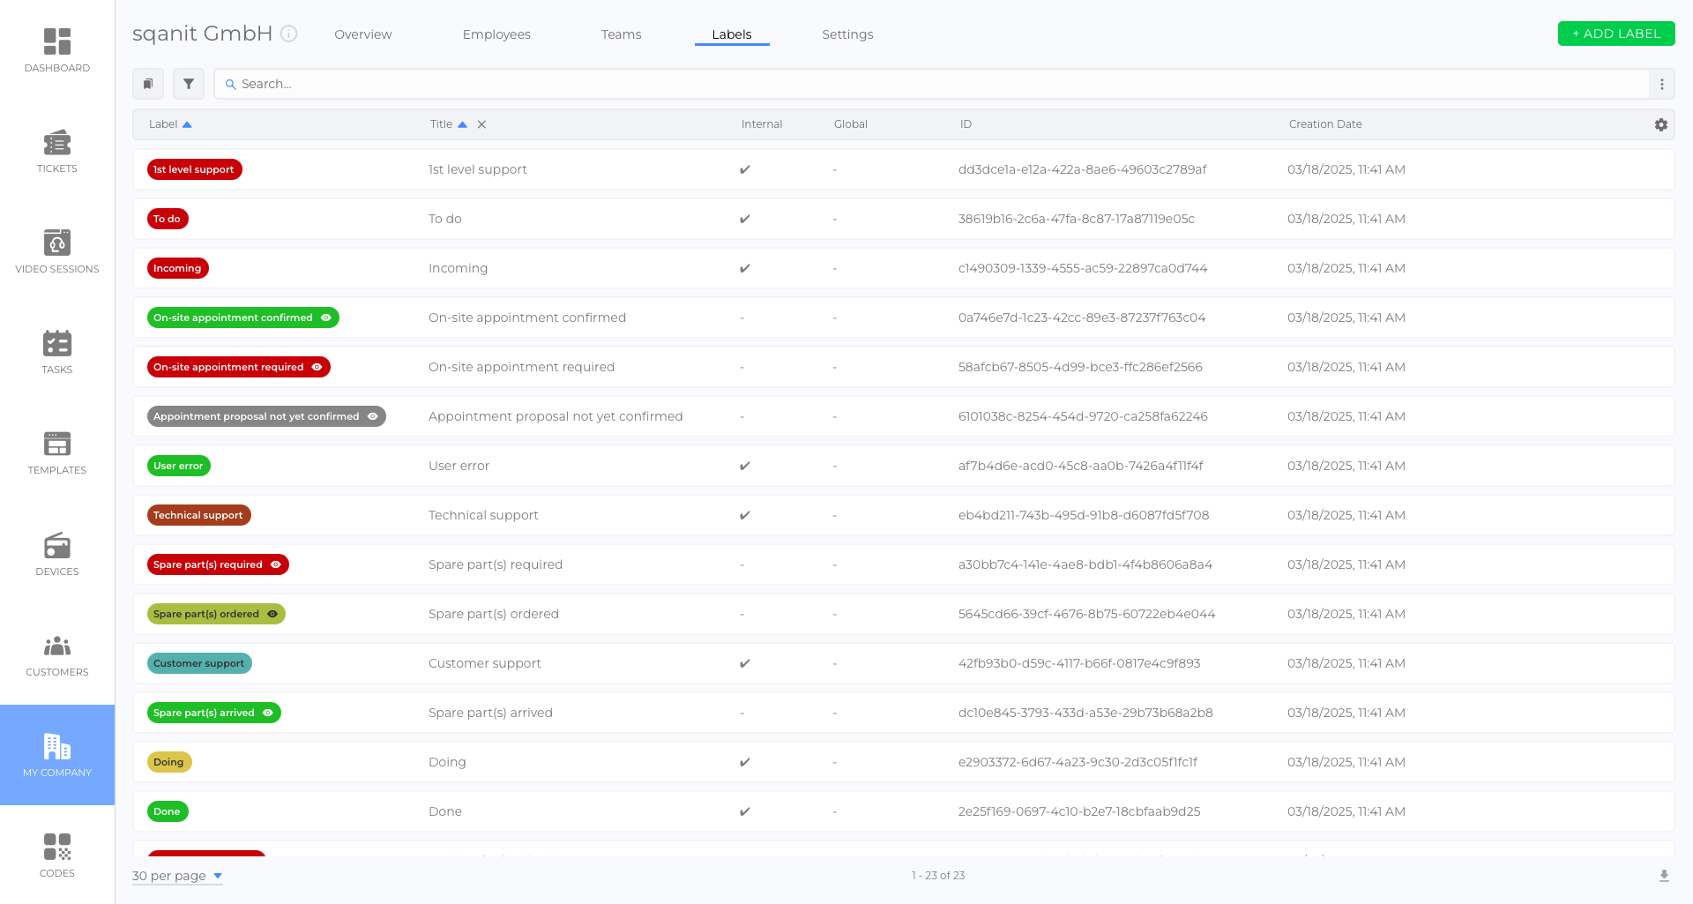
- A list of all created labels is displayed.
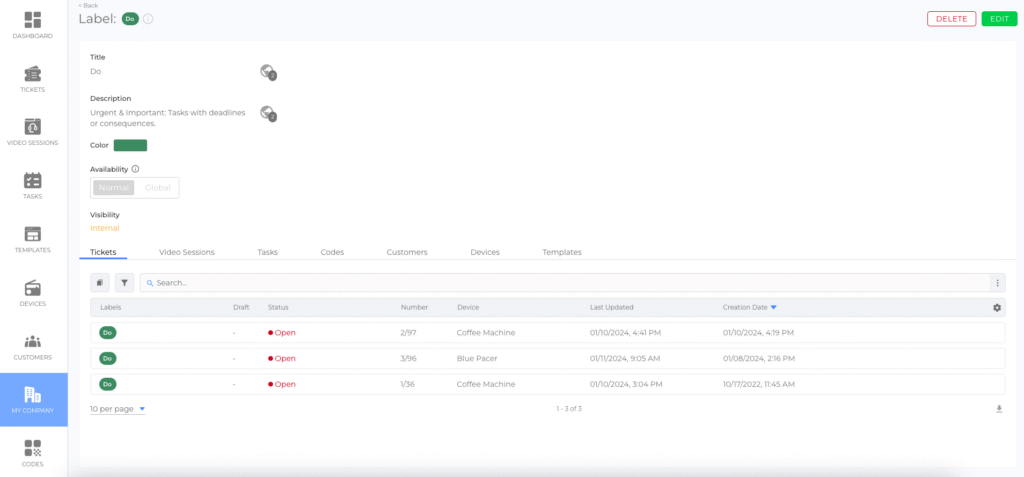
- Clicking on a label opens the Label Details View, where you can see all associated entities.

How to Create Labels
Labels are created at the company level and can have different visibility settings and usage restrictions:
- Select My Company from the side menu.
- Click on the Labels tab.
- Click + Add Label.
- Complete all steps of the label creation flow (picture).
Note: Labels can also be added via import.
Label Properties
- Title: The name of the label, which can be translated into multiple languages.
- Description: Additional information on the label’s purpose and usage.
- Color: Color of the label. Defined using a color picker.
- Availability (picture):
- Global: Usable for all entities.
- Normal: Can be restricted via label submodules.
Example: Only a selection of five specific labels can be used for tickets.
Note: If the Labels submodule of a sepcific module is deactivated, all nomal labels can be selected.
- Visibility (picture):
- Internal: Visible only to employees.
- Public: Visible to employees, code users, and customers.
Managing Labels at the Template Level (Labels Submodules)
At the template level, the following modules have a Labels submodule:
Organizing Labels in Groups
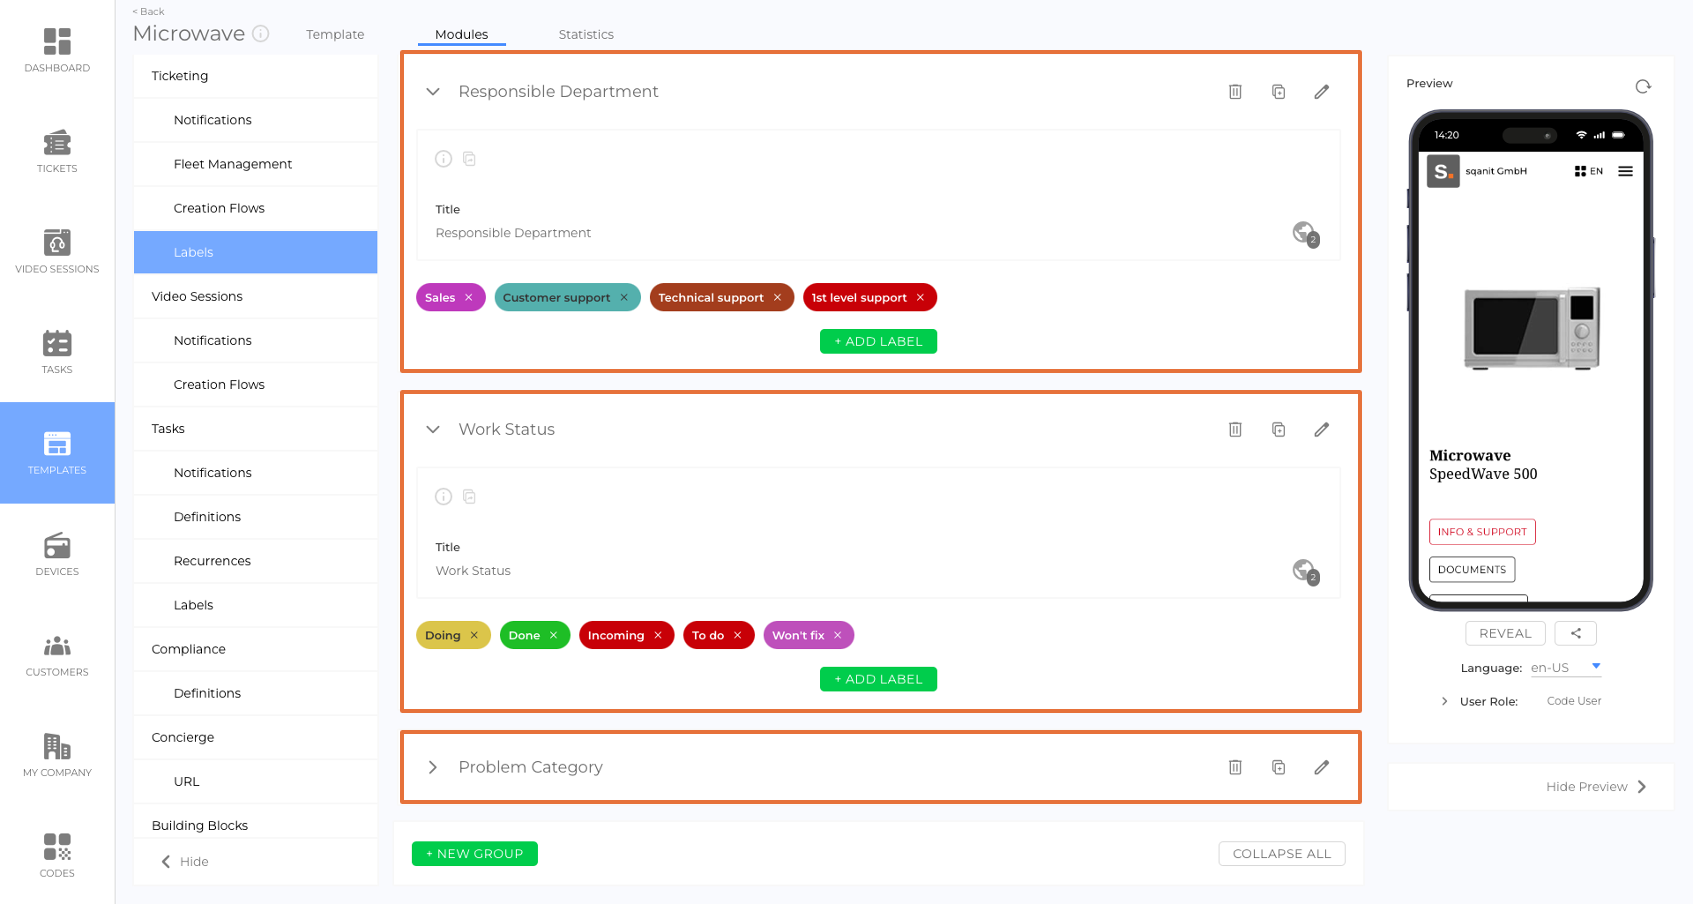
Within these submodules, normal label availability can be restricted, and labels can be grouped for better organization. Global labels are always available but can also be assigned to groups for better structuring.
- If the Labels submodule is activated, normal labels can only be used if they are added to a group within the submodule.
Example:
A group called Ticket Labels in the Labels submodule of Ticketing contains five specific normal labels. For tickets associated with the devices of that template, employees can only use these five normal labels and all global labels.

Using Labels
Applying Labels to Existing Entities
Employees can manually assign labels to entities to enhance organization and categorization.
- Select the desired entity to enter the Details View.
- Click Edit to start edit mode.
- Click on the Labels Icon located in the top left corner (picture).
- Select one or multiple labels from the offered lists (organized in dropdown menus) (picture).
Adding Labels During Entity Creation
Tickets, Video Sessions, Devices and Codes, Customers
- Creation Flows: Labels can be assigned to creation flows, ensuring they are automatically added to any entity created through these flows (picture).
- Creation Flow Steps: Label steps can be included in creation flows, allowing users to add labels during entity creation. Depending on the settings, adding labels may be optional or required (picture).
Tasks
- Task Definitions: Labels can be assigned to task definitions, ensuring they are automatically added to any task created using a specific definition.
Codes
- During the code creation process, users can select labels that will be applied to all newly created codes.
- Step by step instruction:
- Select Codes from the main menu.
- Click on the Create Codes tab.
- In the Create section, select labels from the drop down menu (picture).
- Click Create Code - all newly created codes will have the selected labels.
Filtering and Sorting with Labels
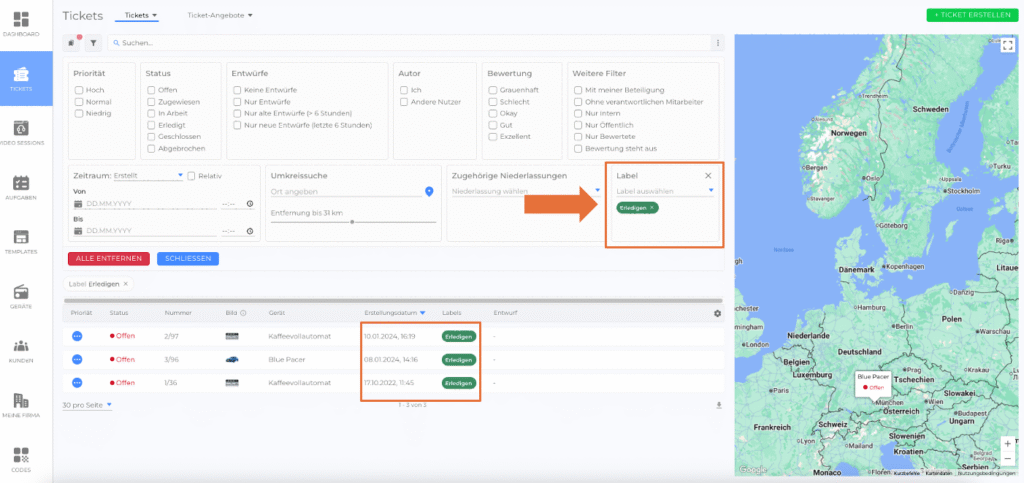
Labels can be used to organize lists and quickly locate specific entities. Lists can be both filtered and sorted by labels, allowing for better data management and streamlined navigation.


