Introduction
The Customers Tab allows service providers to store and manage customer data efficiently. Employees can use this tab to:
- Access, edit, and update customer information.
- View customer-related service history, including devices, tickets, tasks, and video sessions.
- Search, sort, and filter customers based on various attributes.
- Add and delete customers as needed.
- Define customer-to-team mappings.
- Navigate to the Customer Details View for in-depth customer management (article).

Key Features of the Customers Tab
Customer Management & Overview
The Customers Tab provides a structured list of all Private Customers and Corporate Customers stored on the platform. Employees can:
- Search, sort, and filter the customer list.
- View and update customer details.
- Add or remove customers.
To learn more about how to search, filter, and customize list views, refer to the article Lists (article).
Tabs and Display Options
The Customers Tab consists of multiple sections for better organization:
- All Customers: Displays all added customers (private & corporate).
- Private Customers: Lists only private customers.
- Corporate Customers: Lists only corporate customers.
- Team Mappings: Displays all customer team mappings.
Display Options
For the first three tabs (All Customers, Private Customers, Corporate Customers), users can customize their view using a dropdown menu in the tab header:
- Overview: Displays both the customer list and a map with customer locations. (= Default setting)
- Map: Expands the map to full-screen, displaying only customer locations. (picture)
- List: Expands the customer list across the page, removing the map for a more detailed, column-based view. (picture)
Navigating to the Customer Details View
Clicking on any customer entry opens the Customer Details View, where employees can access, manage and update all aspects of a customer’s profile, including:
- Contact information and addresses
- Customer-related devices, tickets, tasks, and video sessions
- Team mappings, notifications, and assigned modules
For more information, refer to the article Customer Details View (article).

How to Add a New Customer via the Customers Tab
- Click Customers in the side menu.
- Click +ADD CUSTOMER.
- Follow the customer creation flow and complete the required fields.
- Click SAVE to finish.
Good to Know
- Efficient Customer Management: Employees can store and manage customer information, ensuring accurate and up-to-date records.
- Quick Navigation: Clicking on a customer opens the Customer Details View, providing access to all relevant customer data.
- Customizable Views: Users can switch between Overview, Map, and List modes for an optimal viewing experience.
- Overview of Responsibilities: The Team Mappings tab supports platform managers in assigning the correct teams to customers.
 We use cookies on our website to give you the most relevant experience by remembering your preferences and repeat visits. By clicking “Accept All”, you consent to the use of ALL the cookies. However, you may visit "Cookie Settings" to provide a controlled consent.
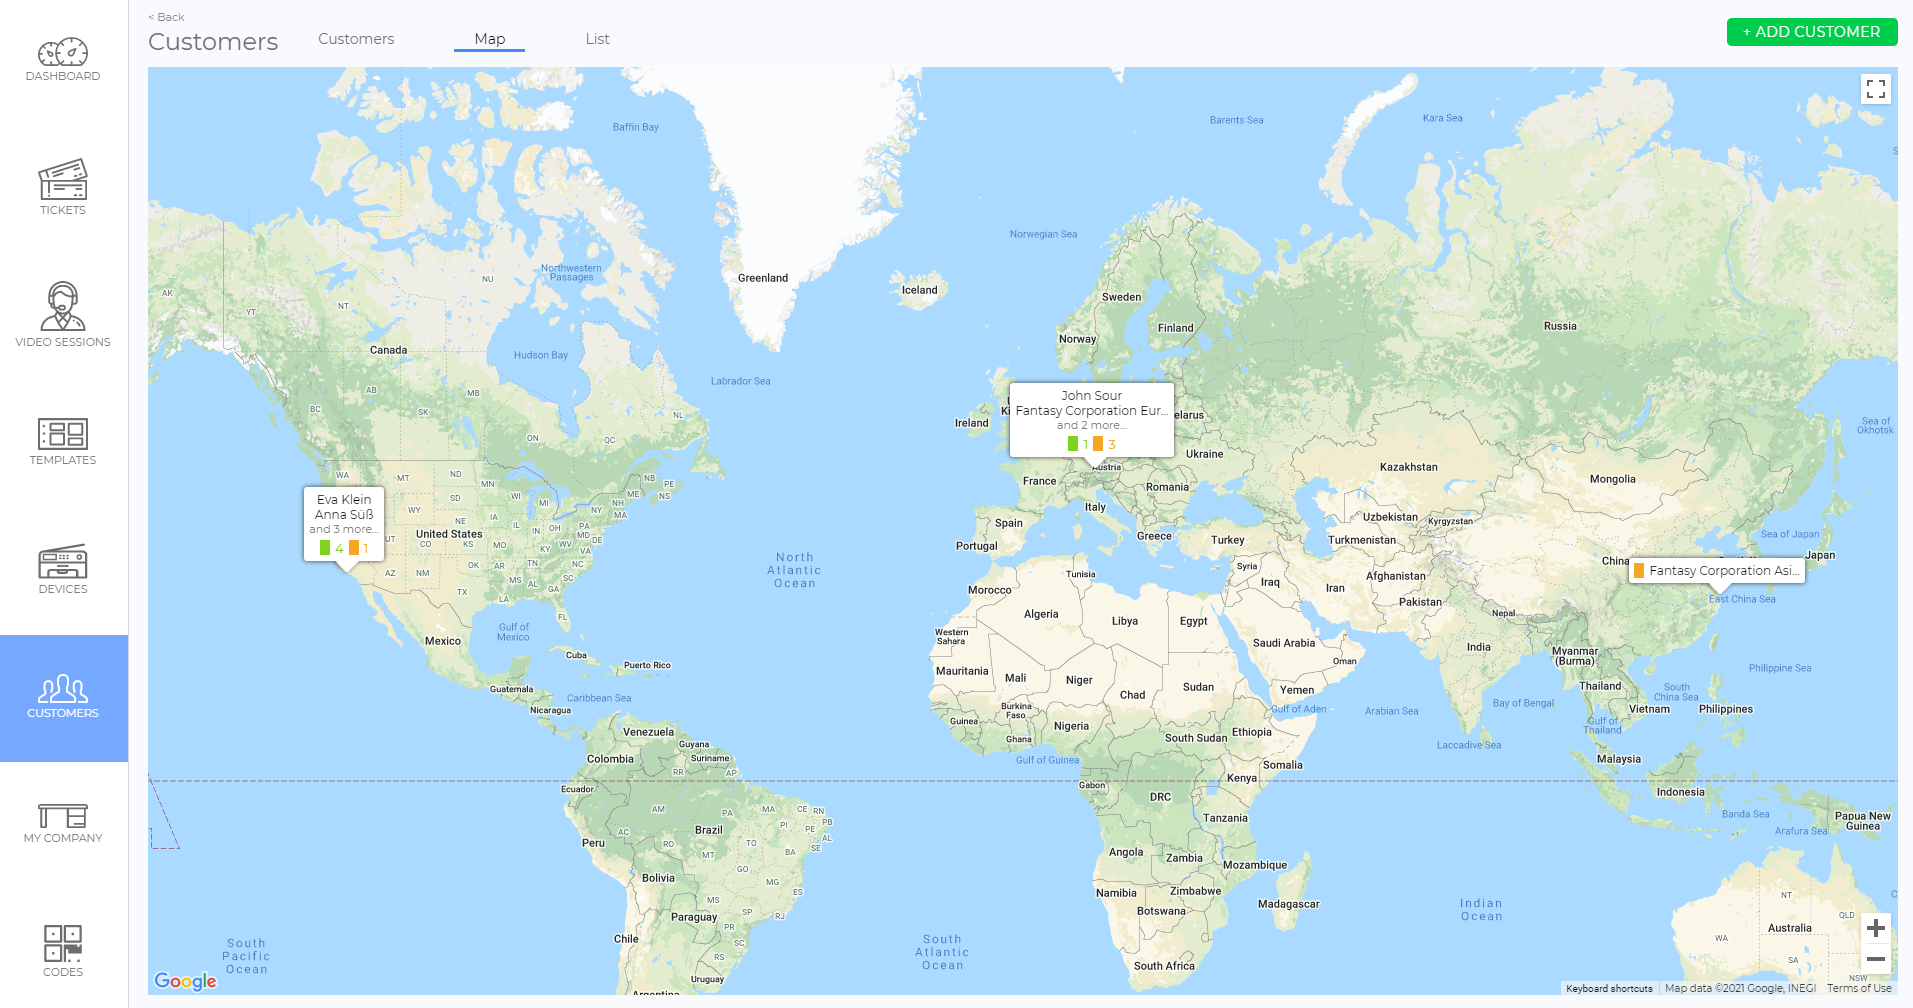