Introduction
The Device Details View provides a centralized view for managing individual devices. This view enables service providers and customer login users to access and update device-related data, monitor activities, and configure settings, ensuring seamless management and efficient workflows.

Tabs and Functionalities in the Device Details View
Select Customer Tab
If the device does not already have a customer assigned to it, user can do the assignment in the Select Customer tab. The user has the option to select a customer from the Select an existing customer dropdown or create a new customer for the device using the + Create Customer button.

In the edit mode of device details view, a Copy From Customer button is available next to the device’s Location section (when the devices' address is not already same as that of the customers'). If the linked customer has a own address, clicking this button automatically fills the device address fields with the customer's address. This improves assignment of device locations and more consistent, especially when multiple devices belong to the same customer. The map view updates automatically after applying the customer address.

General Tab
The General Tab allows you to view and edit device-specific information, such as the device name, location, and associated customer.
Clicking Show Customer next to the listed customer takes you to their Customer Details View.
Appearance Tab
In the Appearance Tab, users can configure the device-specific general appearance of the mobile application, including the main color, logo, and introductory message. (picture)
Tip: Use the Color Picker to edit the main color and preview changes in real-time.
Attachments and Internal Attachments Tabs
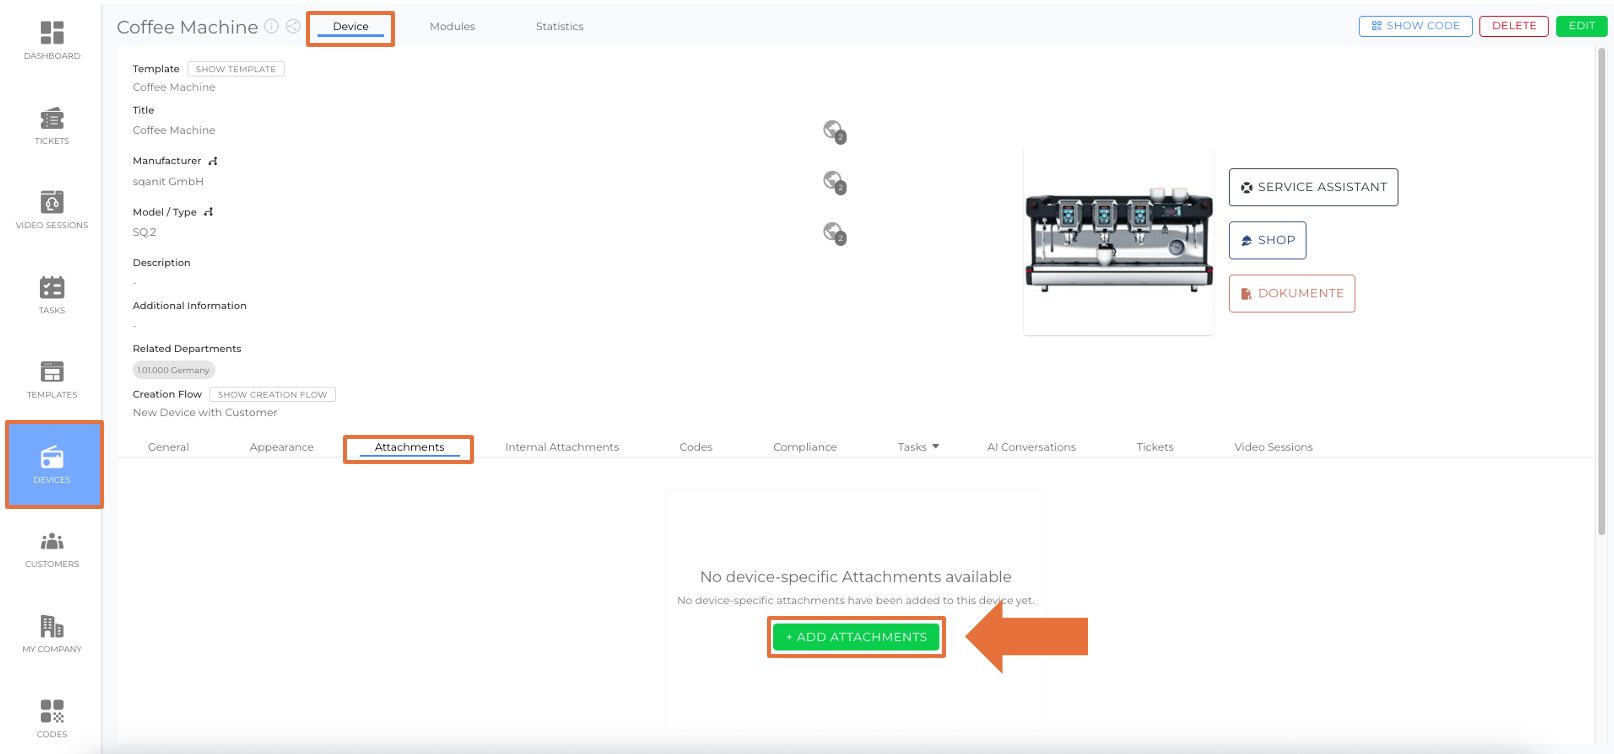
- Attachments Tab: Displays device-specific attachments and those inherited from the template, such as images, PDFs, or videos.
Users can upload new attachments:- Click +Add Attachments (picture).
- Select or drag 'n' drop files into the upload box.
- Optionally, add an attachment title.
- Click Save to confirm.
- Internal Attachments Tab: Exclusively displays attachments visible only to employees, ensuring confidentiality for internal documents.
Codes Tab
This tab shows the code paired with the device. Clicking on the paired code opens its Code Details View, where you can access more information or actions.
If no code is paired yet, users can either:
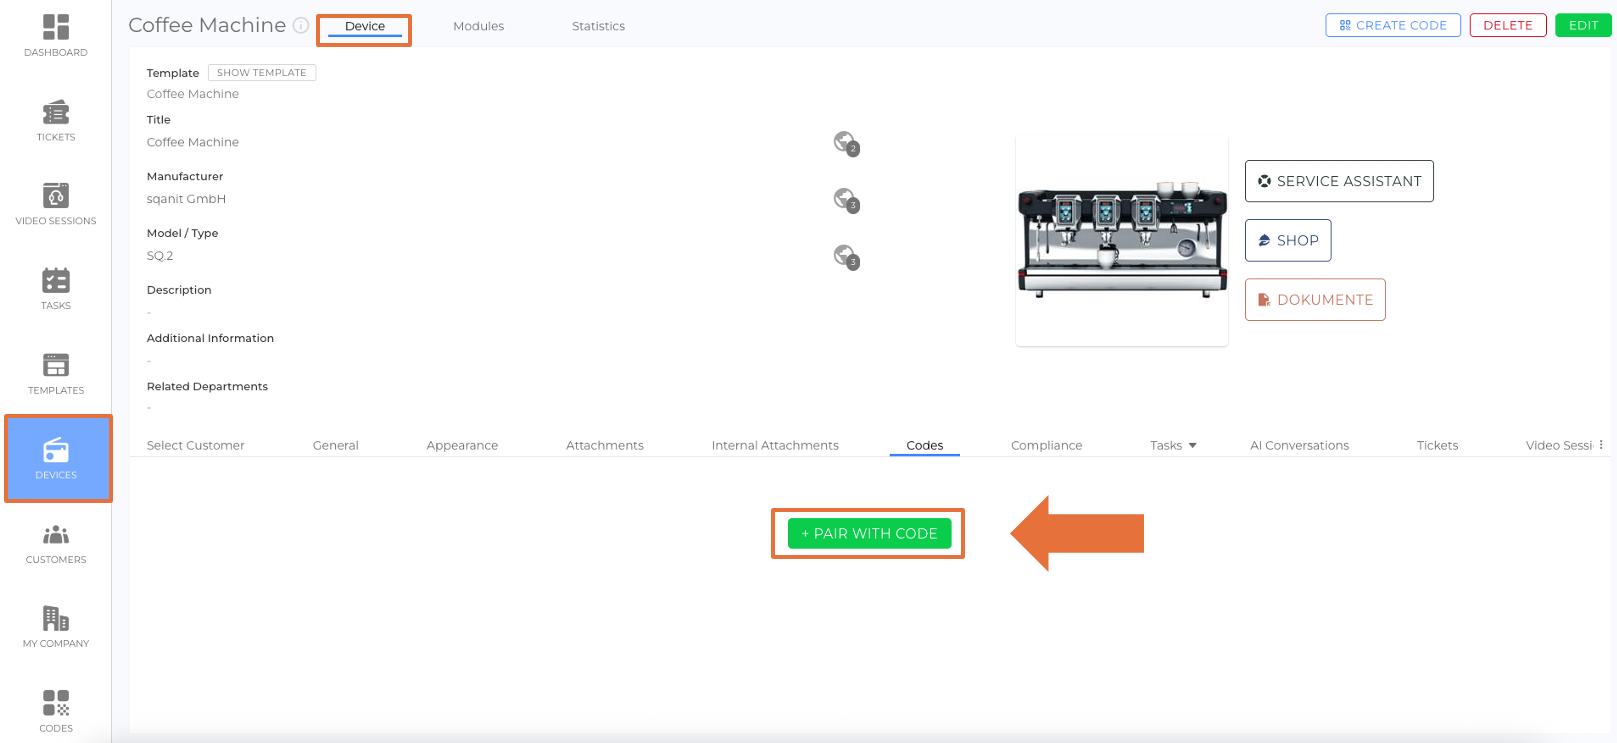
- Pair with an Existing Code:
- Click + Pair With Code (picture).
- Select a code from the dropdown list or use the search box to find a specific code.
- Click the desired code to pair it.
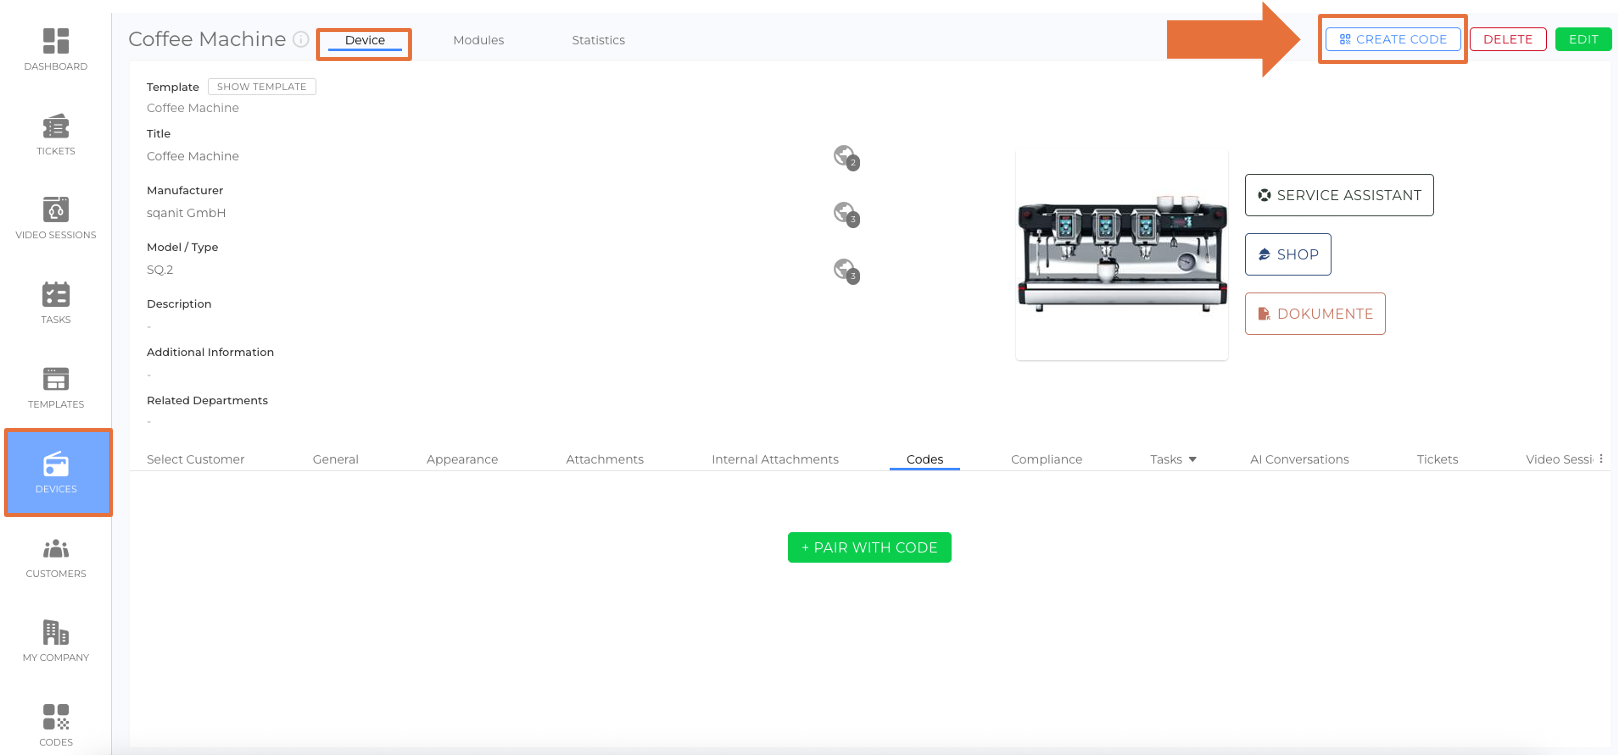
- Create and Pair a New Code:
- Click Create Code (picture).
- A popup will display the newly created code. Click Create And Pair Code.
When modules are configured and previewed on a device that is not linked to an active code, the data created during this process is treated as temporary demo data.
Entries such as tickets, video sessions, tasks, or AI conversations are automatically deleted after two days to keep the testing environment clean and organised.
Tickets Tab
The Tickets Tab displays all tickets associated with the device. Clicking on a ticket opens its Ticket Details View, where you can manage or review the ticket.
To create a ticket:
- Click + Create Ticket (picture).
- Complete the ticket creation flow by providing the required details.
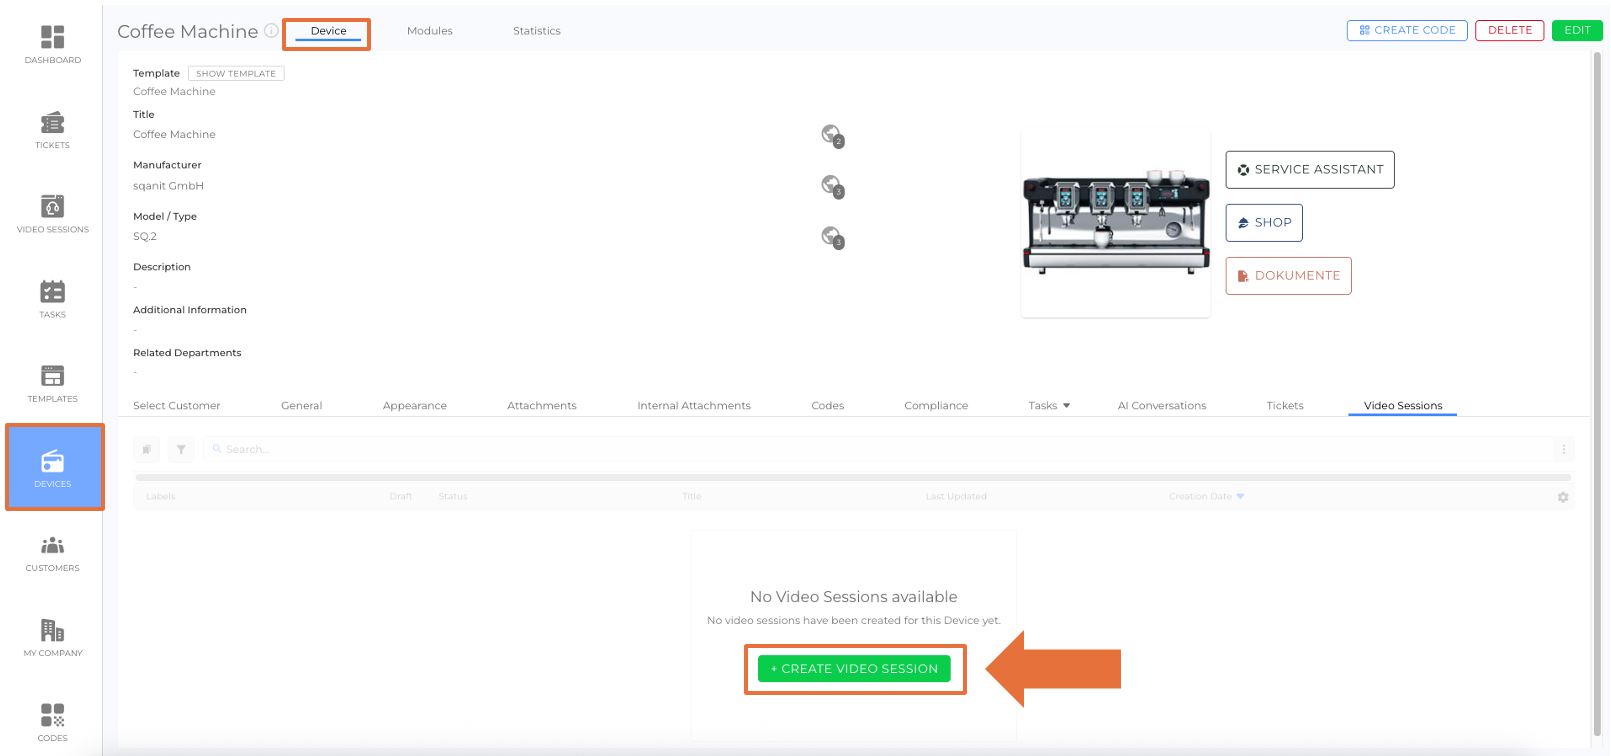
Video Sessions Tab
The Video Sessions Tab lists all video sessions related to the device. Clicking on a video session opens its Video Session Details View, where you can manage or review the session.
To create a video session:
- Click + Create Video Session (picture).
- Complete the request flow.
Tasks Tab
The Tasks Tab displays all tasks created for the device. Clicking on a task opens its Task Details View, where you can manage or review the task.
Views in the Tasks Tab can be switched between Combined, List and Calendar views.
To create a task:
- Click + Create Task.
- Choose a predefined task or create a custom task.
For more details on creating tasks, read the article Tasks (article)
Compliance Tab
The Compliance Tab lists all compliance definitions related to the device. You can activate new compliance sets here or review archived ones.
For more details, read the article Compliance (article).
AI Conversations Tab
The AI Conversations Tab displays all existing conversations between the AI and users. Clicking on a conversation reveals the full dialog, which can be reviewed or continued.
To start a new conversation, click + Start New Conversation.
Module Buttons
If active, module buttons for Assistant, Files and Concierge are displayed next to the device image at the top of the Device Details View. These buttons provide quick access to respective functionalities, even from the Back Office, ensuring a seamless experience for Customer Login Users.
Good to Know
- Changes made in the Device Details View overwrite the template-level settings for the specific device. Subsequent updates to the template will not apply to these overridden fields.
- Lists in the Device Details View (e.g., tickets, video sessions, tasks) provide quick navigation to the respective Details Views for further management and review.
 We use cookies on our website to give you the most relevant experience by remembering your preferences and repeat visits. By clicking “Accept All”, you consent to the use of ALL the cookies. However, you may visit "Cookie Settings" to provide a controlled consent.
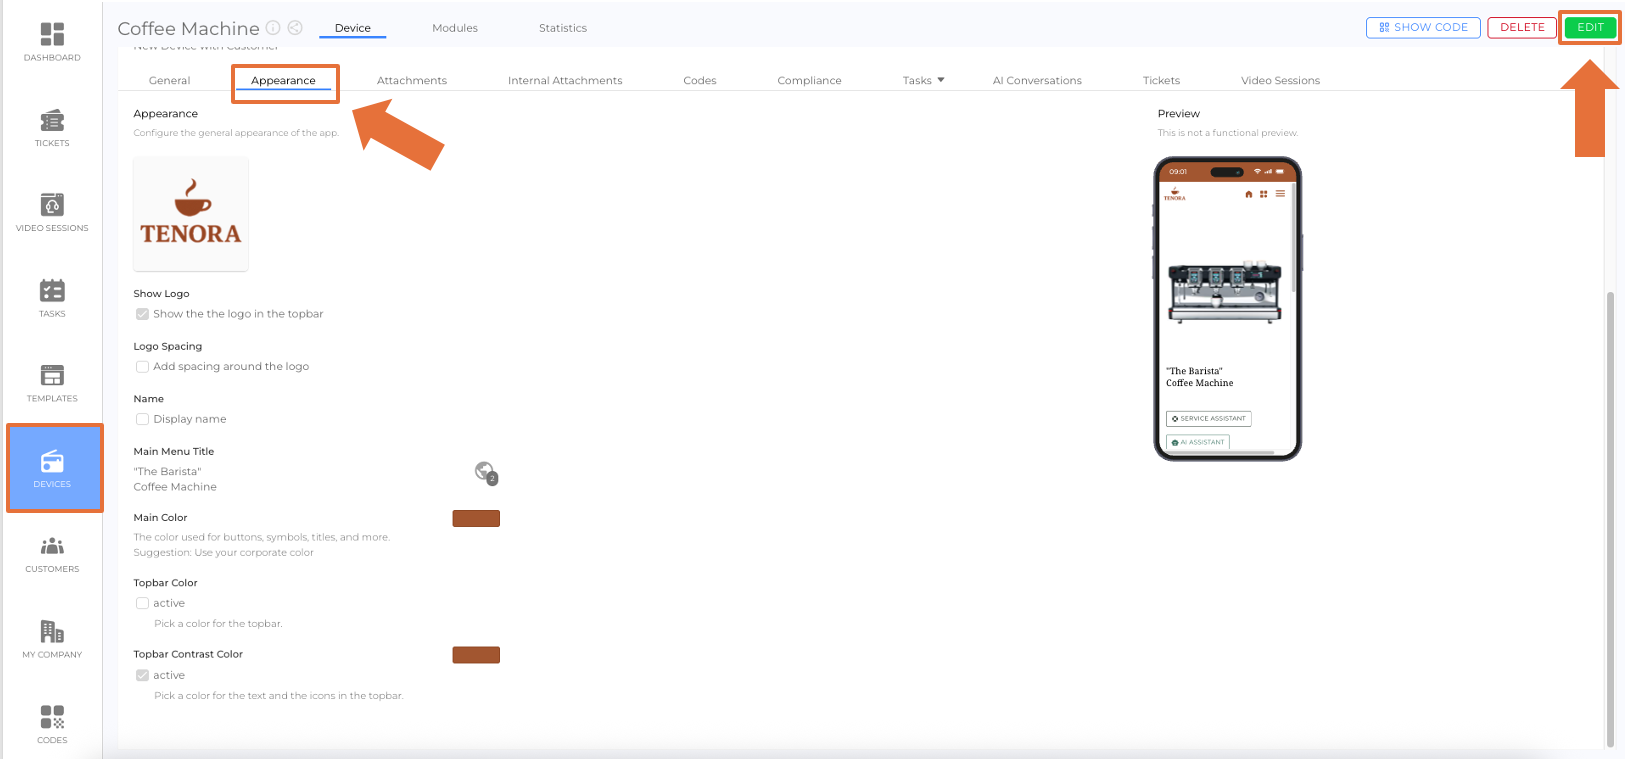