Introduction
The Ticketing module allows users to report issues, request support, and manage service cases efficiently. Code Users and Customers can create tickets when they need assistance, while Employees use the system to track, communicate, and resolve these requests.
Creating Tickets
Code Users, Customer Login Users, and Employees can create tickets using different methods.
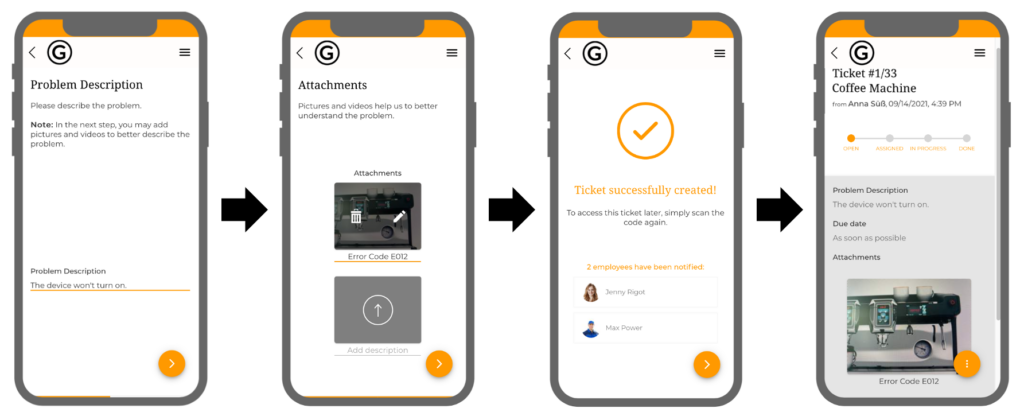
Code Users Can Create Tickets only via the Mobile Application
- The Ticket Overview (picture)
- The Assistant – If action buttons have been configured to reference a ticket creation flow (picture).
The responsible employees are immediately notified of new tickets so that they can get in contact with the code users as quickly as possible. For more details, read the article Fleet Management (article).
Employees & Customer Login Users Can Create Tickets via the Mobile Application & the Back Office
1. Via the Mobile Application
Device Context (a specific device is selected):
- The Ticket Overview - By clicking the "+" button and selecting a ticket creation flow (picture).
- The Assistant – If action buttons have been configured to reference a ticket creation flow.
The Mobile Dashboard:
- The Tickets Widget – By clicking the "+" button and selecting a device and ticket creation flow.
2. Via the Back Office
- The Tickets Tab - By clicking the "+ CREATE TICKET" button and selecting a device and ticket creation flow (picture).
- Device Context - By selecting a device, opening the Tickets tab, and clicking "+ CREATE TICKET".
Note: Employees must specify whether the ticket is Internal (visible only to employees) or Public (also visible to Code Users).
Ticket Creation Flows
To create a ticket, users must follow a Ticket Creation Flow and answer all the required questions.
For more details, read the article Ticket Creation Flows (article).
Ticket Statuses
Employees can manually change ticket statuses. However, in some cases, statuses update automatically based on user actions:
- When a Code User or Customer cancels a ticket, the status automatically changes to "CANCELLED".
- When a ticket offer is accepted or an employee is assigned, the status automatically changes to "ASSIGNED".
- When a ticket with the status "DONE" is rated by a Code User or Customer, the status automatically changes to "CLOSED".
Ticket Status Overview
| Progress Status | Meaning |
|---|---|
| DRAFT | Not all steps of the ticket creation flow have been completed yet. No ticket offers have been sent out. |
| OPEN | The ticket has been created. Ticket offers have been sent. No employee has accepted their offer yet. No employee has been assigned yet. |
| ASSIGNED | At least one employee has accepted their ticket offer or has been assigned. |
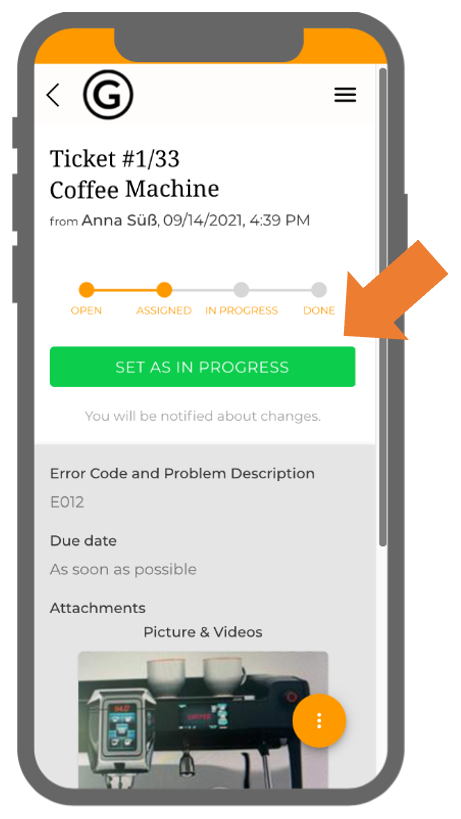
| IN PROGRESS | An employee is actively working on the ticket. |
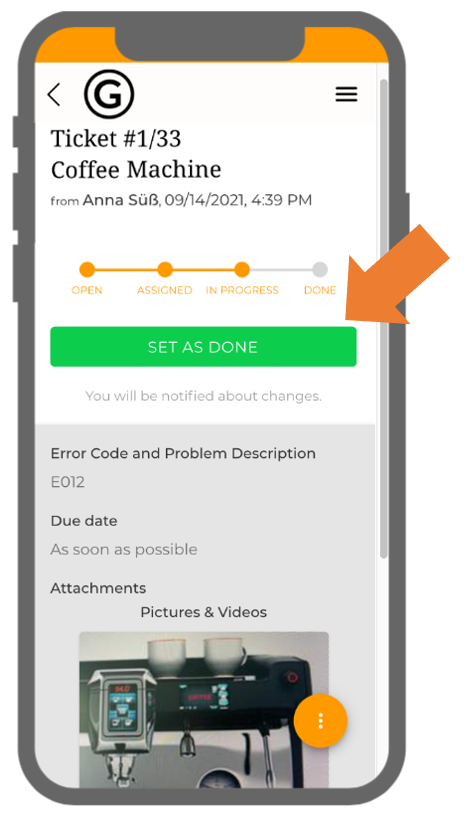
| DONE | The ticket is marked as completed, but waiting for a rating from the Code User or Customer. |
| CLOSED | The ticket is finalized. Code Users and Customers can no longer create updates or send messages. |
| CANCELLED | The ticket has been canceled. |
Visibility Statuses
| Status | Meaning |
|---|---|
| INTERNAL | Only employees can see this ticket. |
| PUBLIC | Both employees and Code Users can see this ticket. |
Processing Tickets
1. Getting Notified
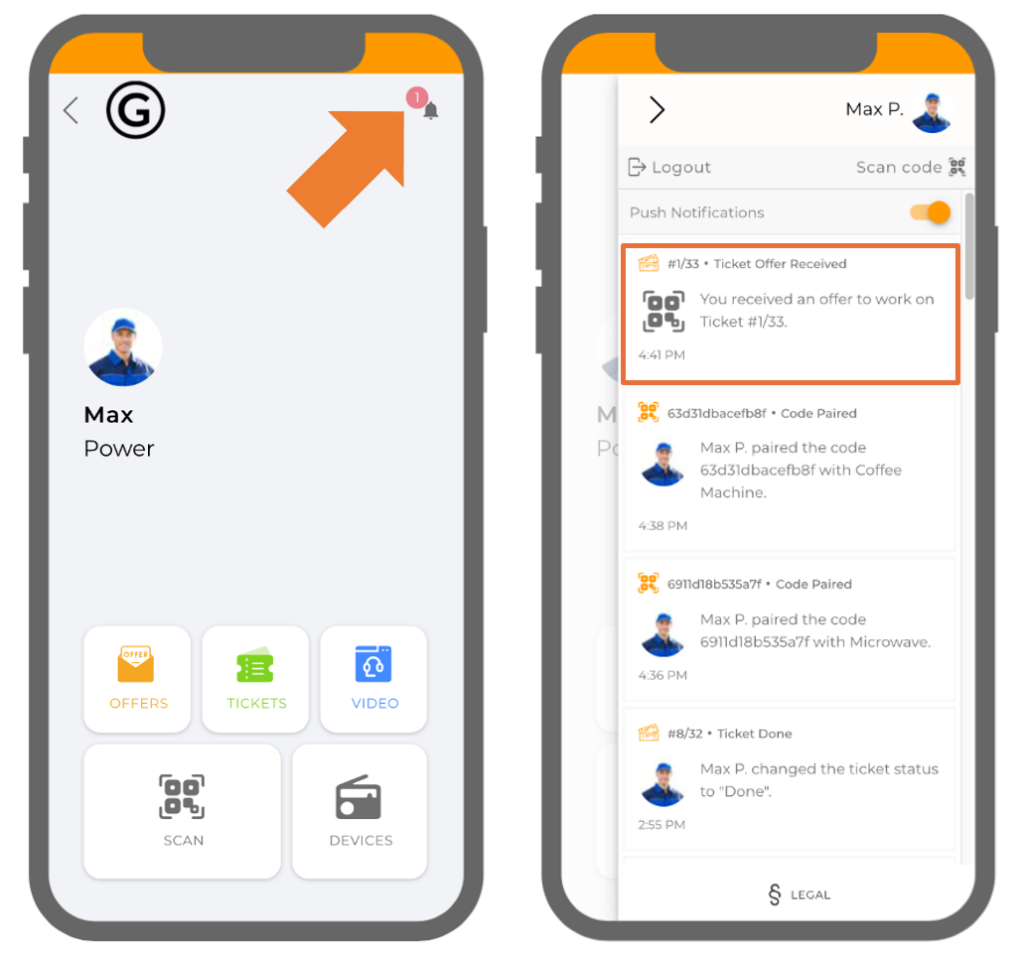
Depending on their individual notifications settings, service employees are notified of new tickets via push notifications, notifications in the browser, and/or emails. For more information on notifications, read the article Notification Settings (article).
2. Reviewing Ticket Details
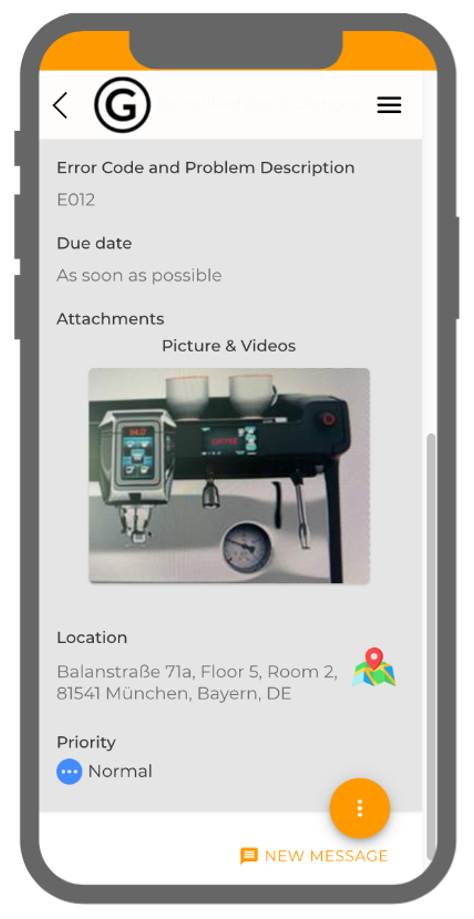
Employees can view all ticket details in the Ticket Details View (picture), including the information provided by the Code User, to assess the individual service cases.
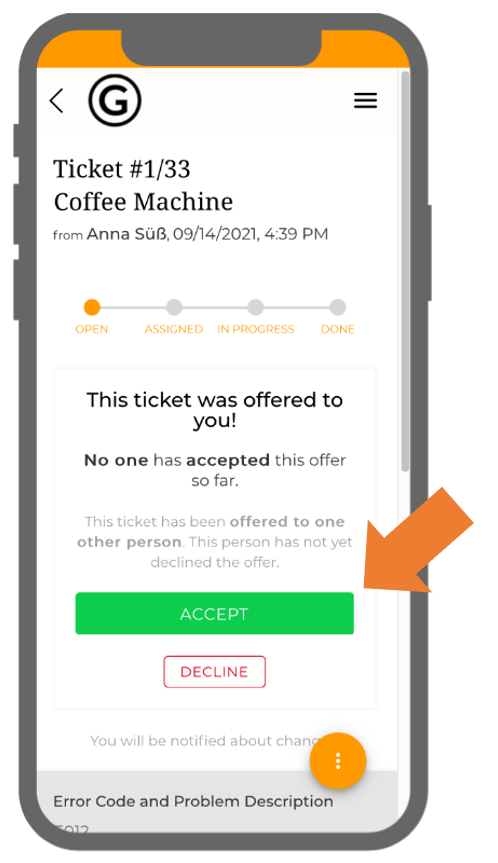
3. Accepting Ticket Offers / Getting Assigned
Before employees (role = member) can start working on a ticket, they must:
- Accept a ticket offer (picture)
- OR be assigned by an administrator or moderator (picture)
Only then can they:
- Send messages via the Messenger
- Create updates
4. Communicating with Code Users and Customers
Once an employee accepts a ticket offer or gets assigned, the ticket status automatically changes from "OPEN" to "ASSIGNED".
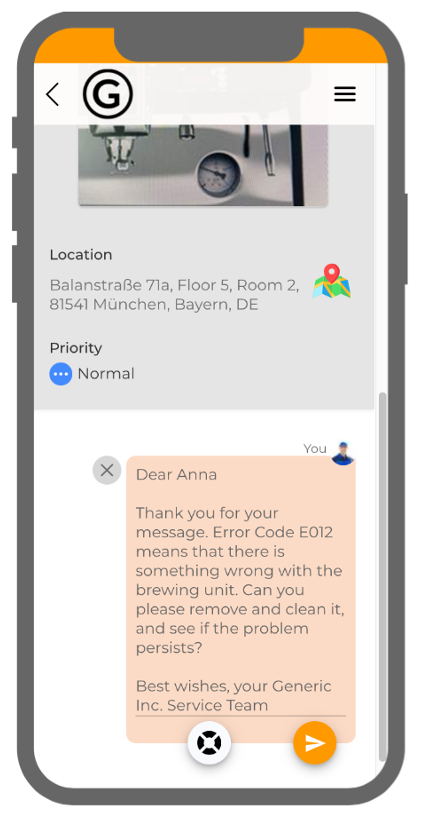
Employees can now use the Messenger to (picture):
- Request additional information
- Provide support
- Guide the Code User through troubleshooting
Note: Employees using the mobile application can access these features by clicking on the menu button (picture).
Messenger Features:
- Text messages (including bold and italic formatting)
- Multimedia messages (pictures, videos, etc.)
- Voice messages
- URL links
- Text Assistant links
- Links to new video sessions
For more details, read the article The Messenger (article).
5. Performing Customer Service
When working on a ticket, employees should change the ticket status to "IN PROGRESS" to let the Code User know that the case is being handled.
Often times, the messenger is all that is needed to resolve a service case, as it offers many options for giving precise instructions to the code users. However, if the case cannot be resolved remotely, detailed information can be collected in advance in order to optimally prepare the service employees for the on-site deployment.
Updates
In addition to messages, information can be shared via updates. Updates consist of text and/or attachments, and are intended to be used for publishing details on the progress of a service case. This way, a digital service record detailing every step of the case is automatically created (picture).
Note: Internal updates can be created if information should only be visible to employees (picture).
6. Closing the Ticket
After the service case is completed, the ticket status must be manually changed to "DONE".
- If the Rating Feature is deactivated, the ticket status will automatically change to "CLOSED".
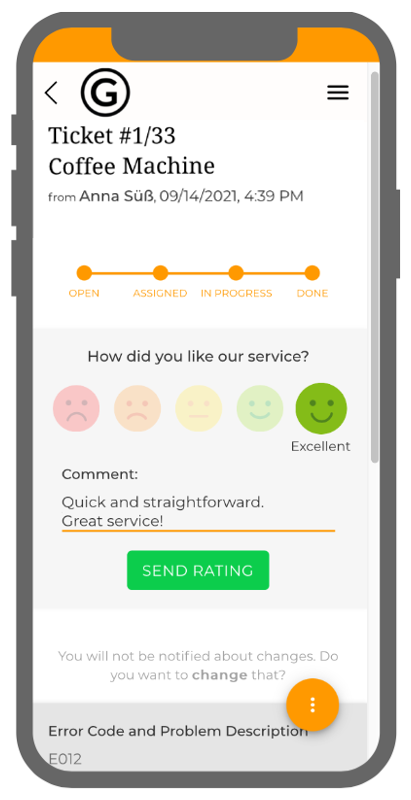
- If the Rating Feature is activated, the ticket remains in "DONE" status until a rating is submitted.
7. Rating the Ticket
If the Rating Feature is activated (picture), tickets remain in the "DONE" status until the Code User submits a rating. Once a rating is received, the ticket status automatically changes to "CLOSED".
For more details, read the article Ratings (article).
Closed Tickets
- Closed tickets remain available in the Tickets Overview (picture).
- Code Users can no longer add updates or send messages.
- To contact support, they must create a new ticket.
- Employees can reopen closed tickets if necessary (picture).
Good to Know
- Ticketing allows seamless communication between Code Users and employees.
- Messenger & updates provide effective ways to resolve service cases.
- Employees must accept or be assigned to a ticket before they can interact with it.
- Closed tickets remain accessible, but Code Users cannot modify them.
- The rating feature helps evaluate service quality and can be activated per Template.
